Manage static content with Prismic.io and Nuxt.js
13 minutes reading
While looking for a service to hold static contents on an headless e-commerce project we are building, we chose Prismic.io after a couple of evaluations between this tool and Contentful.
Prismic it’s quite light and fast to configure and, in our specific case, we’re going to use it to replace the Magent CMS part, but it’s absolutely perfect even for a personal website, corporate or blog, also because it provides a yummy free plan for these cases.
In this post we’re going to put together a little demo of a corporate site with Nuxt.js and Prismic.io to show the main features of this tool.
Let’s start with the Nuxt configuration. Nuxt.js it’s well known by everyone in the Vue.js community by now and not only because it’s been able to establish itself in the last years as a solid and stable Vue framework but also because of its modularity and versatility, so much so that many medium-large companies are now making of Nuxt the choice as headless solution for the frontend.
Nuxt Configuration
For our demo, we’re going to create a multilingual website with a “special” page for the homepage and some repeating pages for the blog section.
So let’s start from the super handy installation wizard that Nuxt provides us:
npx create-nuxt-app corporate-siteAnd let’s answer to the questions
create-nuxt-app v2.14.0
✨  Generating Nuxt.js project in corporate-site
? Project name corporate-site
? Project description My terrific Nuxt.js project
? Author name Lorena Ramonda
? Choose the package manager Npm
? Choose UI framework None
? Choose custom server framework None (Recommended)
? Choose Nuxt.js modules Progressive Web App (PWA) Support, DotEnv
? Choose linting tools ESLint, Prettier, Lint staged files
? Choose test framework None
? Choose rendering mode Universal (SSR)
? Choose development tools jsconfig.json (Recommended for VS Code), Semantic Pull Requests
As we’re not going to make any API call in this project other than the ones to Prismic, we skip the installation of Axios because, as we will see, the nuxt-prismic module already provides us all we need, but in other circumstances, like the e-commerce previously mentioned, it’s instead very likely to Axios or alternative modules to be used.
Let’s just add some brush strokes of style (copied from this site):
npm i -D node-sass sass-loaderand some config into our nuxt.config.js:
export default {
  ...
  css: ['@/assets/scss/screen.scss'],
  ...
}
Details: LINK TO THE COMMIT
Let’s also add the i18n module for managing the multilingual feature. To do this we’ll use nuxt-i18n:
Installation:
npm i nuxt-i18nConfiguration:
nuxt.config.js
/*
  ** Nuxt.js modules
  */
modules: [
  ...
  // Doc: https://nuxt-community.github.io/nuxt-i18n/
  'nuxt-i18n'
],
/**
 * I18n module configuration
 * See https://nuxt-community.github.io/nuxt-i18n/options-reference.html
 */
i18n: {
  locales: [
    {
      name: 'Italiano',
      code: 'it',
      iso: 'it-IT',
      file: 'it.js'
    },
    {
      name: 'English',
      code: 'en',
      iso: 'en-GB',
      file: 'en.js'
    }
  ],
  lazy: true,
  langDir: 'langs/',
  defaultLocale: 'it'
},
As you can see from the configuration, we’re going to create a file for every language inside langs with all the static translations of the site, for instance the ones in the footer:
langs/it.js
export default {
  corporate: {
    vat: 'p. iva',
    share_capital: 'cap. soc.'
  }
}
langs/en.js
export default {
  corporate: {
    vat: 'vat id',
    share_capital: 'share capital'
  }
}
components/Footer.vue (previously created)
<template>
  <footer id="footer" role="contentinfo">
    <div class="container">
      <v-socials />
      Bitbull Srl - {{ $t('corporate.vat') }} 03526400043 - {{ $t('corporate.share_capital') }}
      <v-lang-switcher />
    </div>
  </footer>
</template>
Let’s also setup a switcher for the languange switch:
components/Switcher.vue
<template>
  <ul class="lang">
    <li v-for="locale in $i18n.locales" :key="locale.code" class="lang__item">
      <span v-if="$i18n.locale === locale.code">{{ locale.code }}</span>
      <n-link v-else :to="switchLocalePath(locale.code)" :title="locale.name" exact>
        {{ locale.code }}
      </n-link>
    </li>
  </ul>
</template>
If everything, works, we’re ready to start!
PS: Some steps about components creation have been skipped but you can find everything here: LINK TO THE COMMIT.
Let’s put Nuxt aside for a while and let’s face now the main topic of this post.
Prismic integration
What will we need for this website?
First of all, three pages: homepage (already there), a blog page which will list all of our posts, and a dynamic page for the single post.
So let’s go creating the missing ones into pages for the posts list blog/index.vue and for the post detail blog/_post.vue
Details: LINK TO THE COMMIT.
Let’s go now to Prismic.io and create an account. Once logged in we will be asked to create a repository. This is what is going to host our data and let us get the endpoint for the API calls. The name of the repository must be unique (and unique globally in Prismic, not only for your account). Also, at this point we can choose which plan to activate, wel’ll go for the free one.
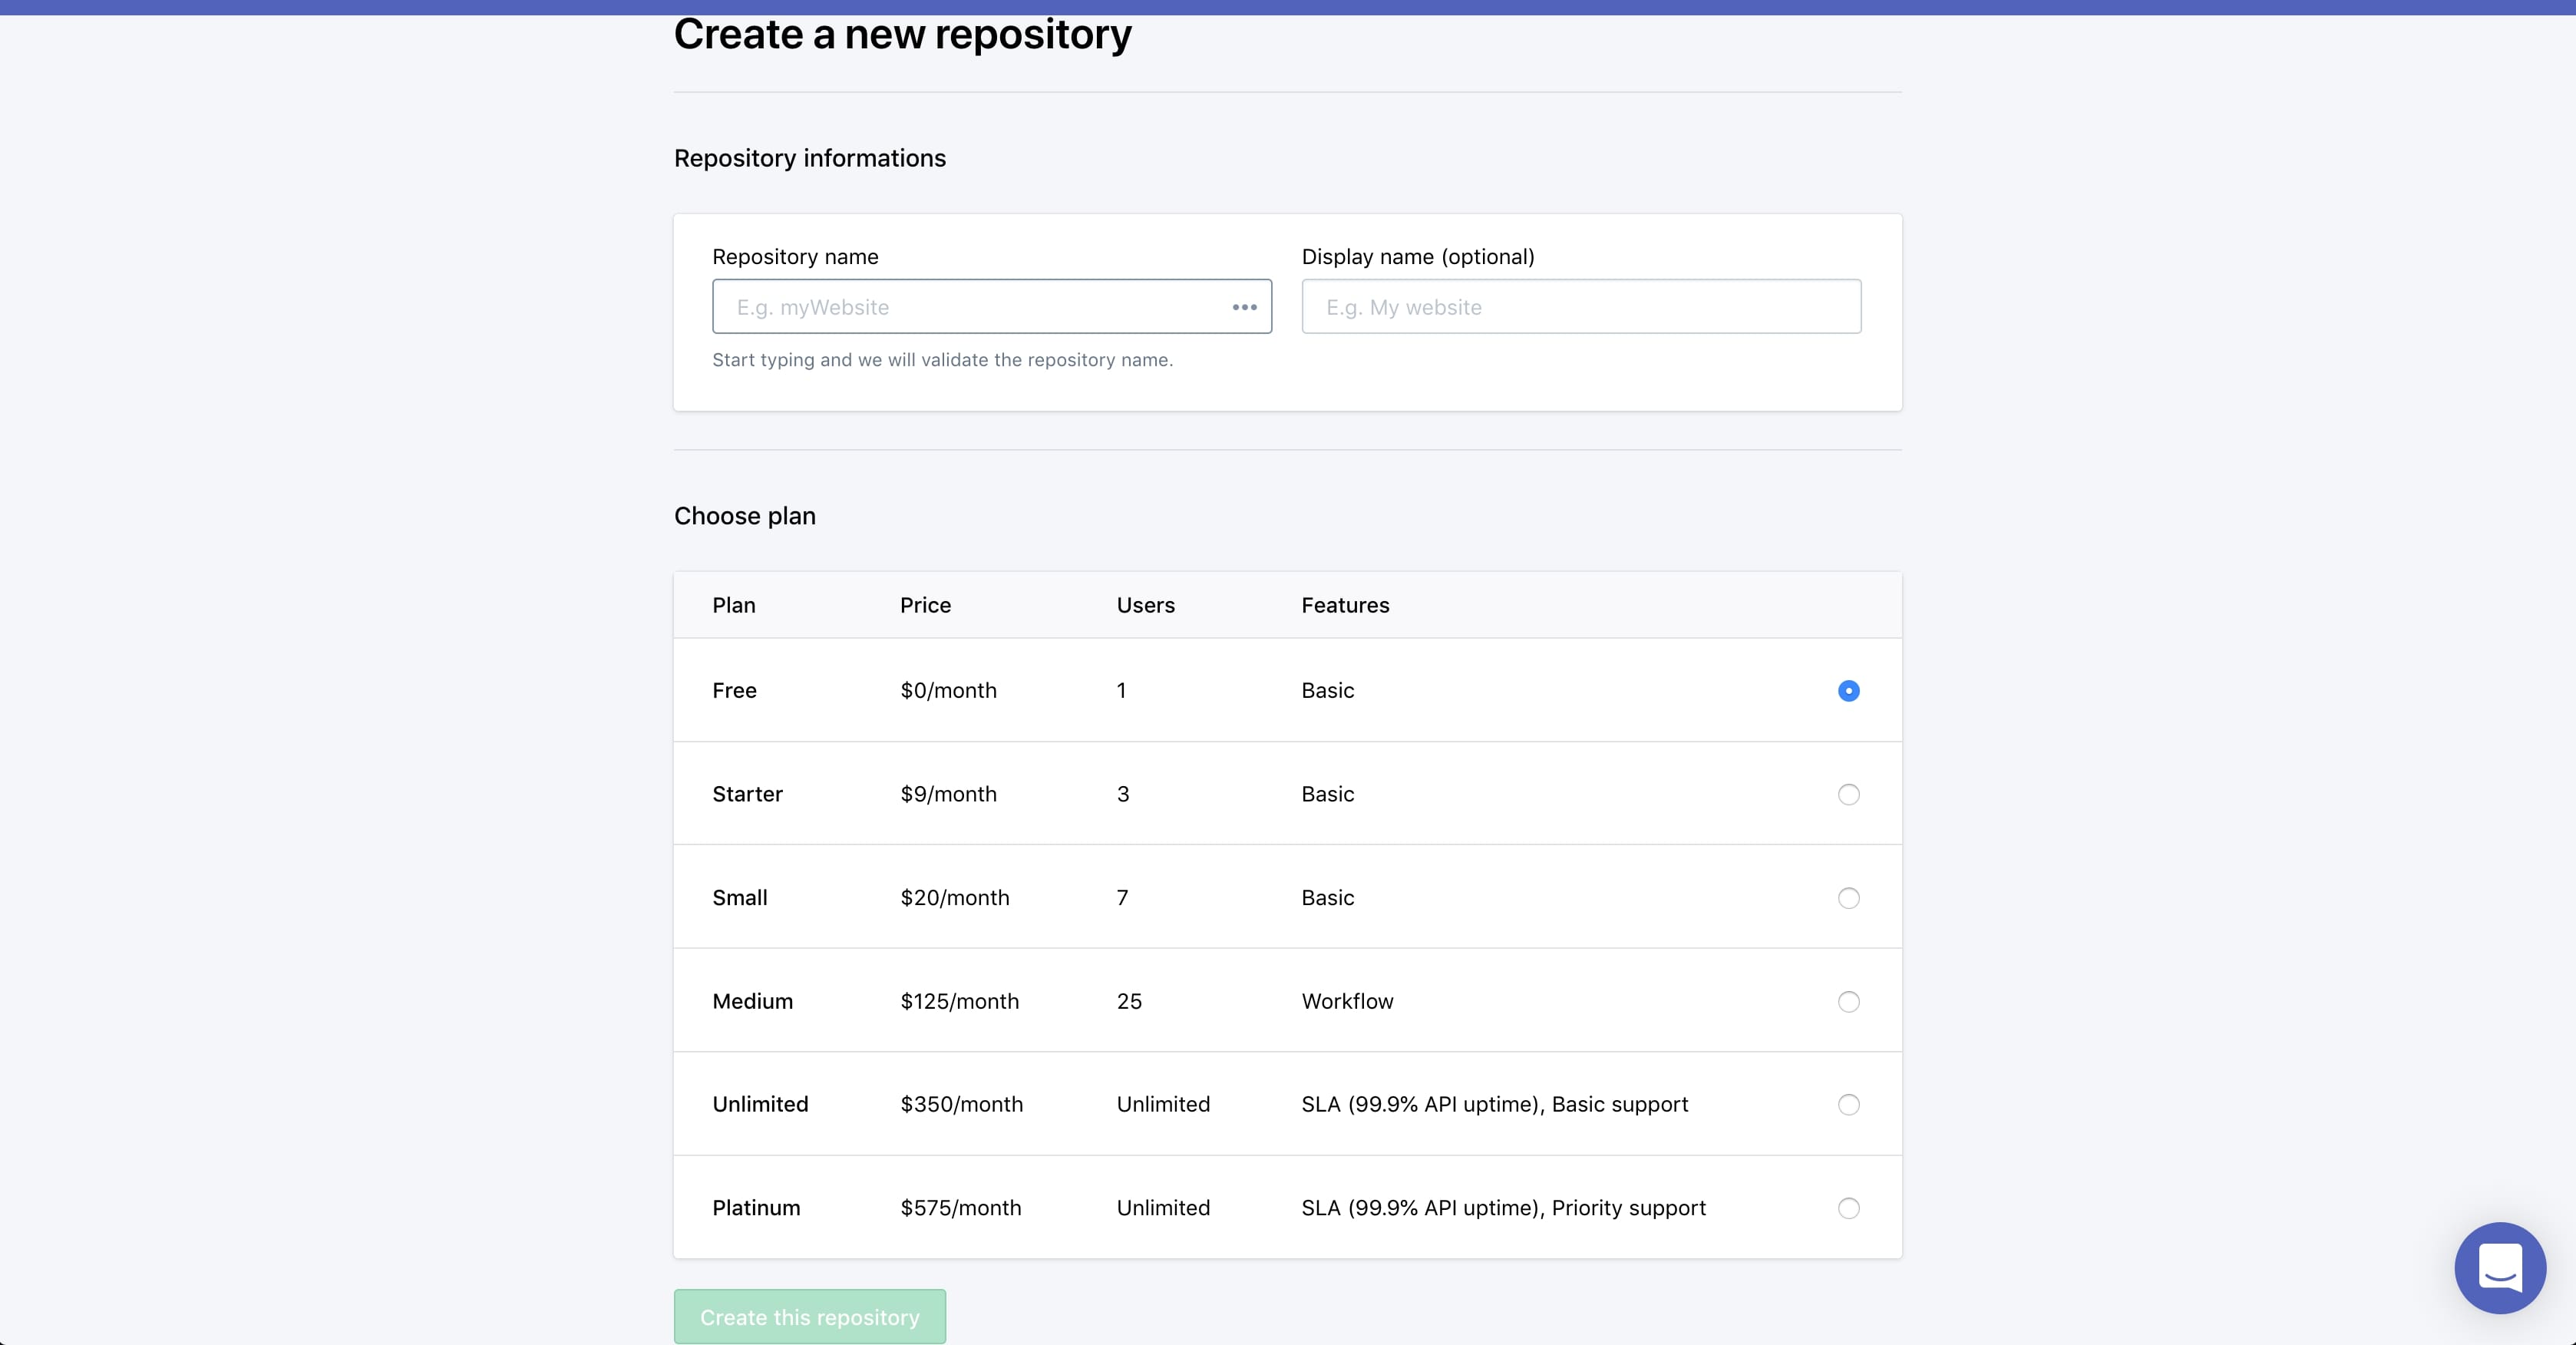
Once created, we select it and we’re now in the project dashboard.
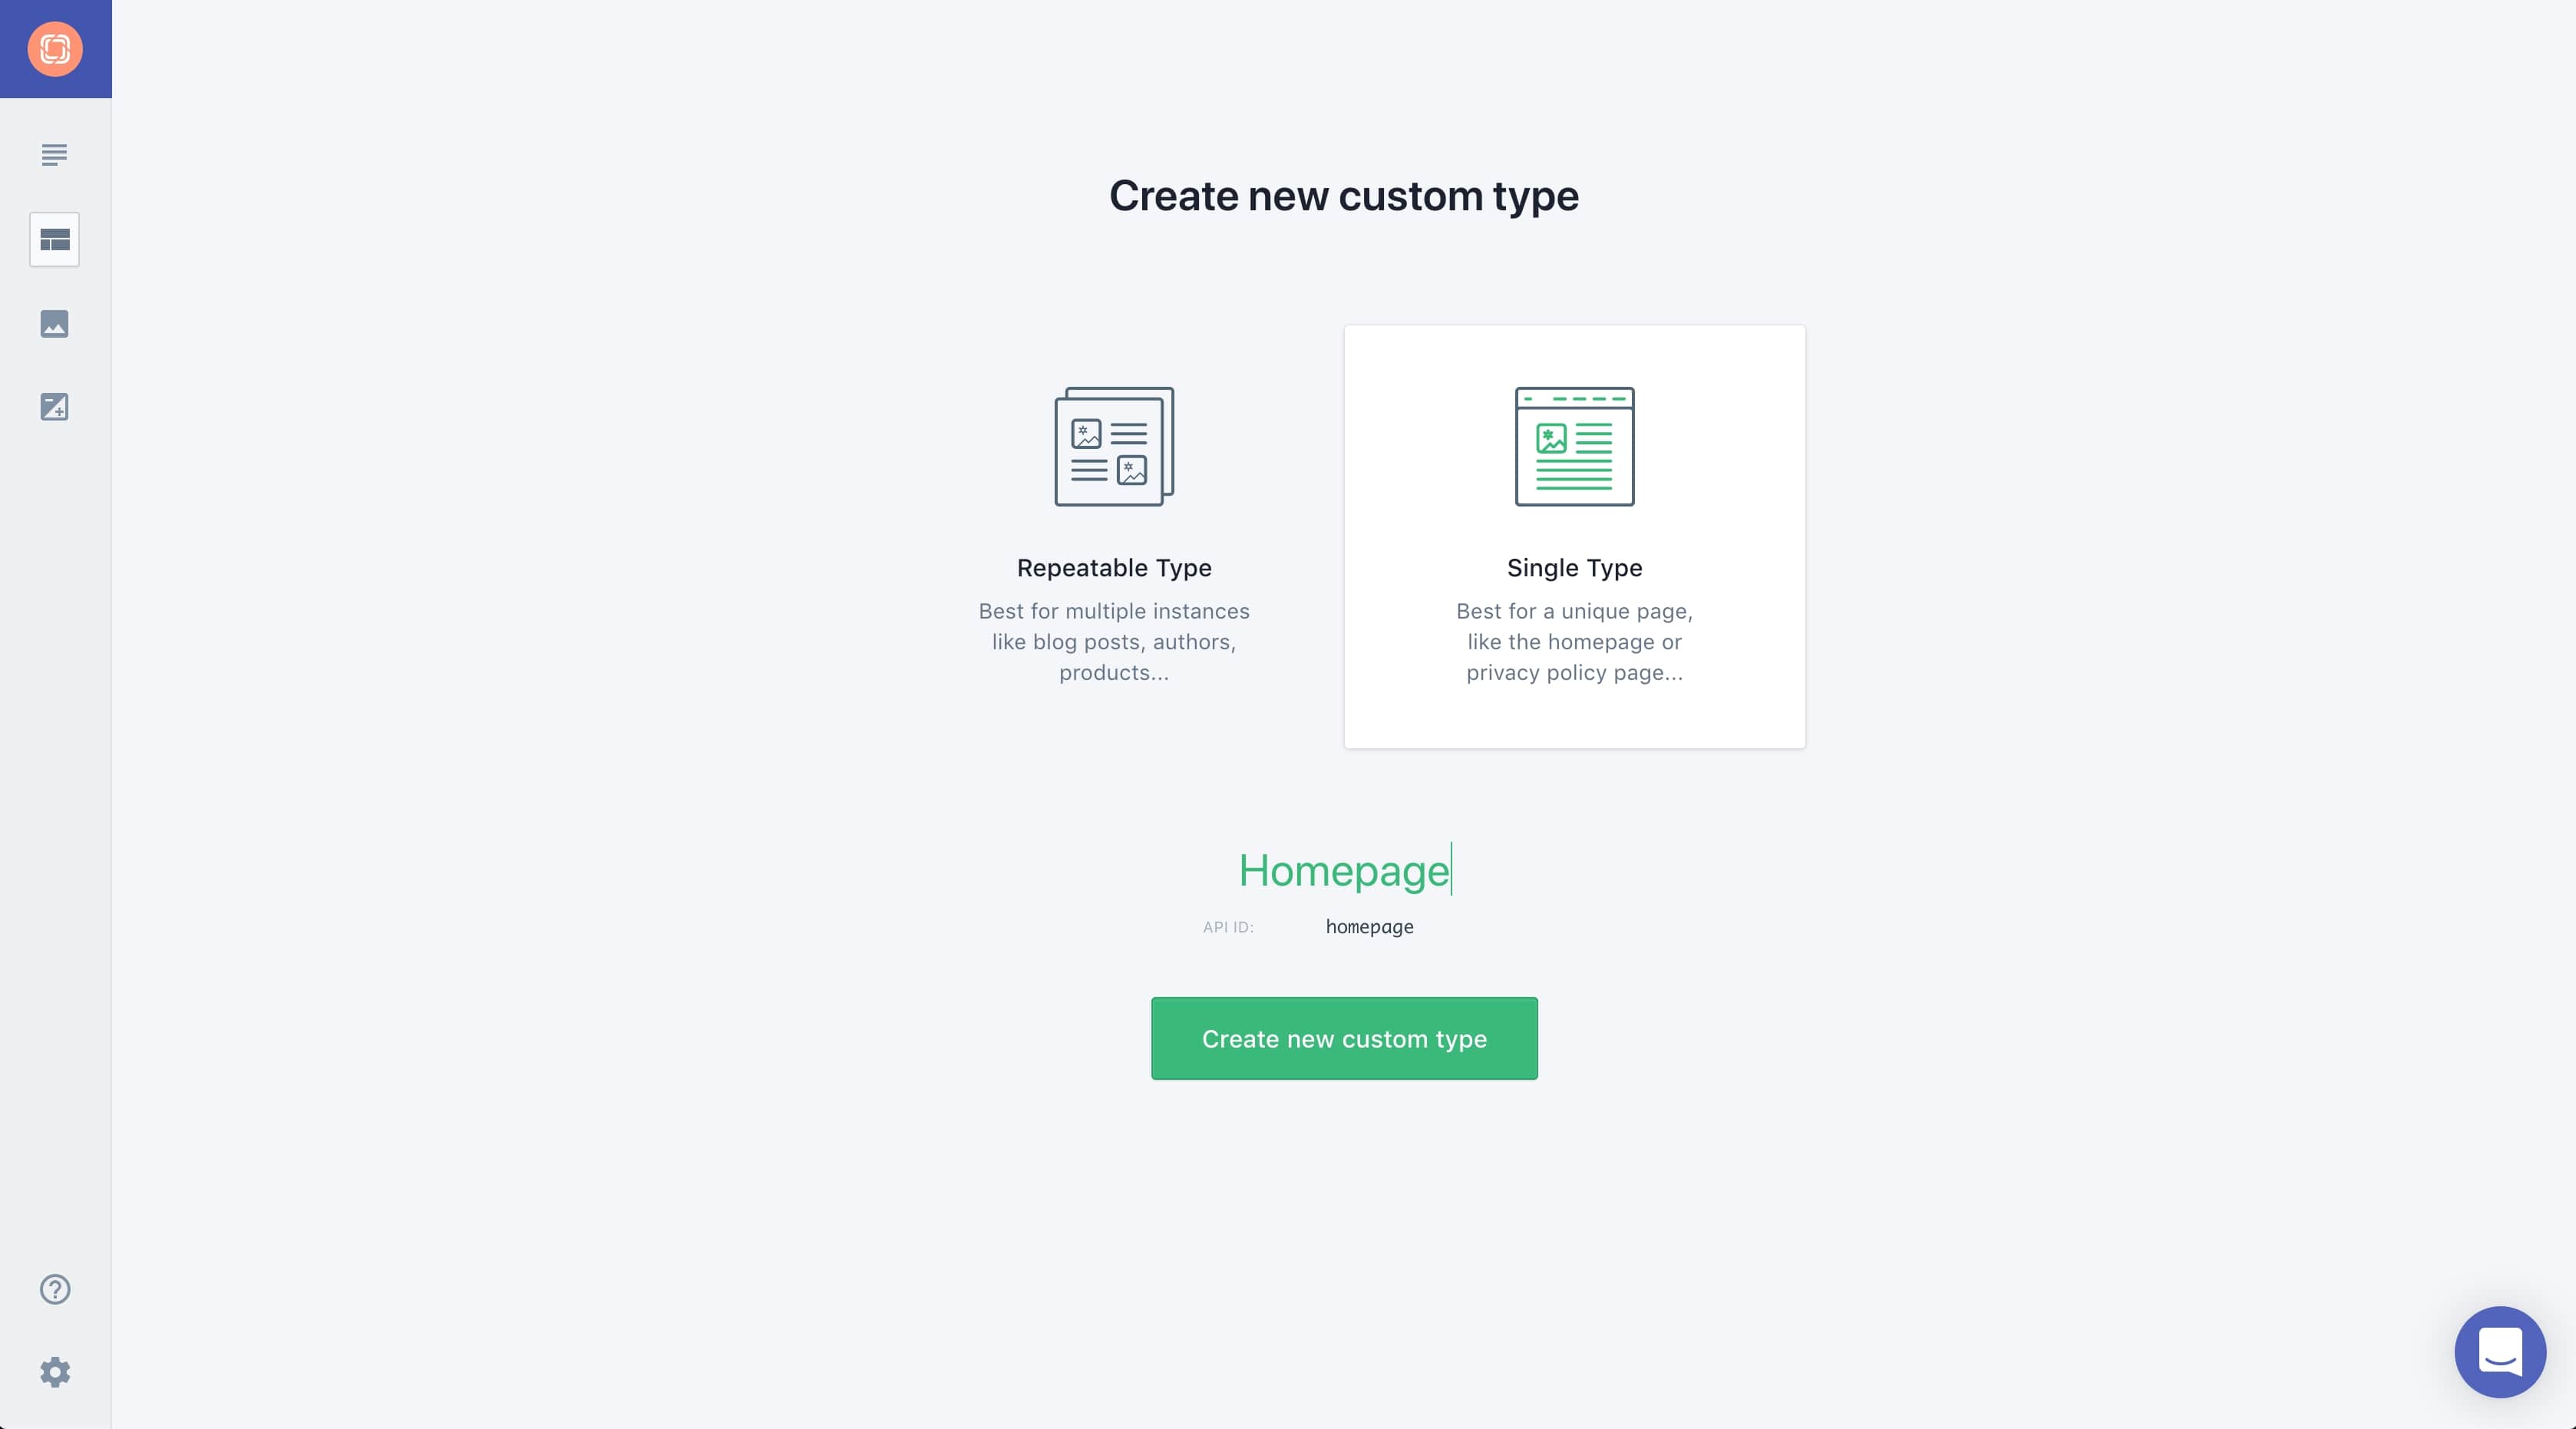
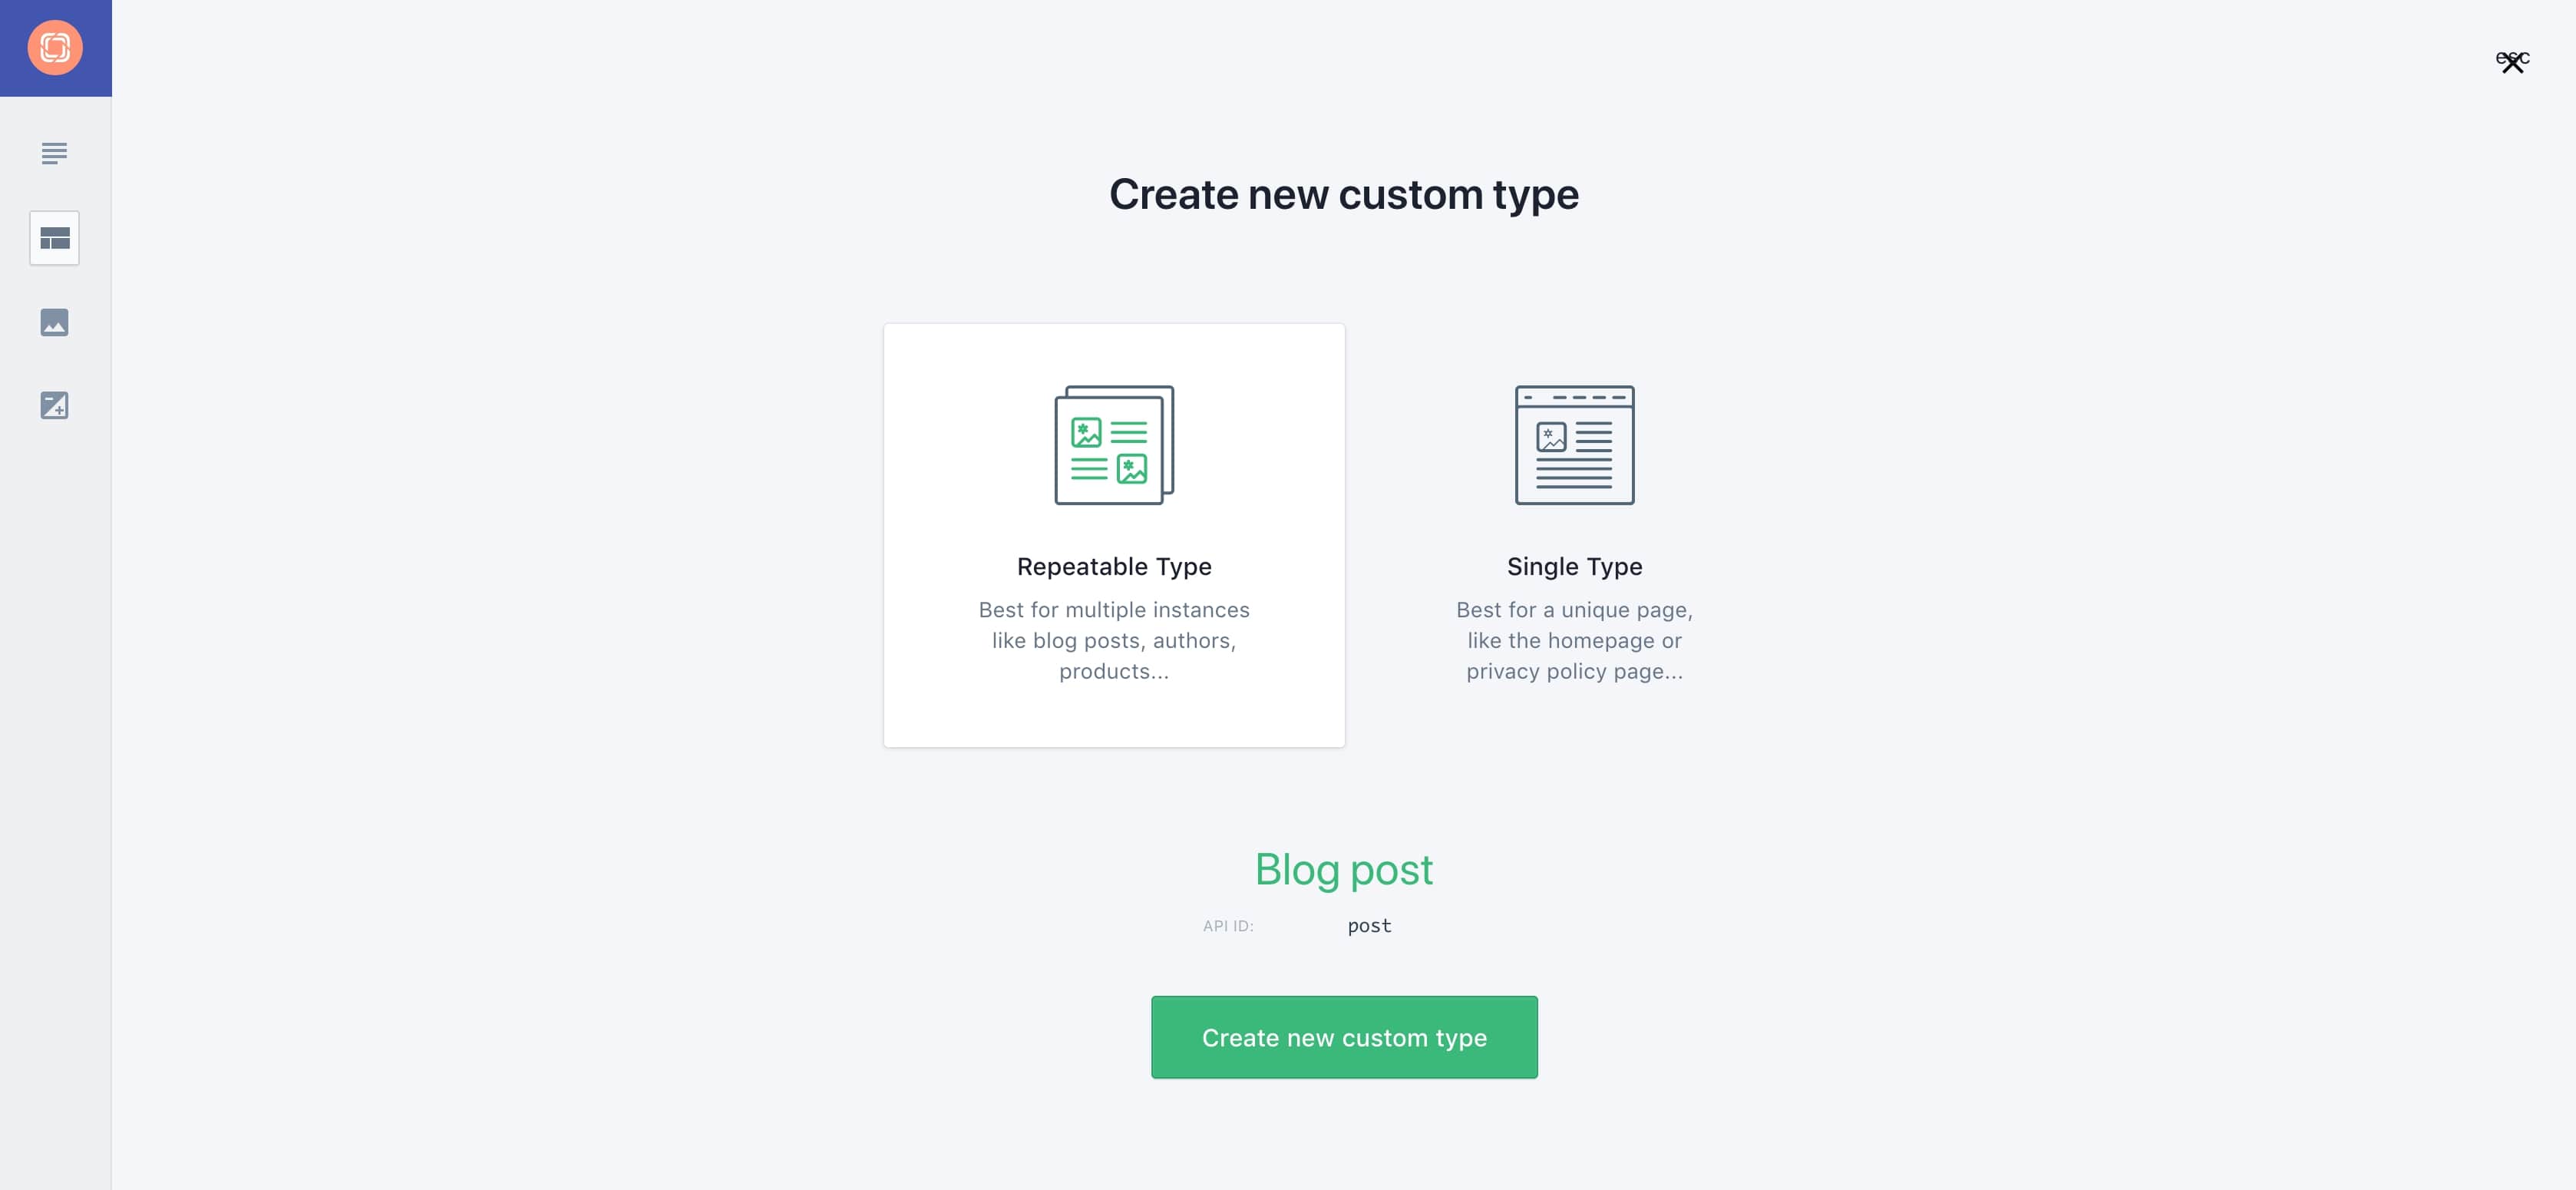
First we will be asked to create a custom type. The custom type is useful to identify types of page/content that our site will use. They can be of two types: repeteable and single.
Prismic Single Type
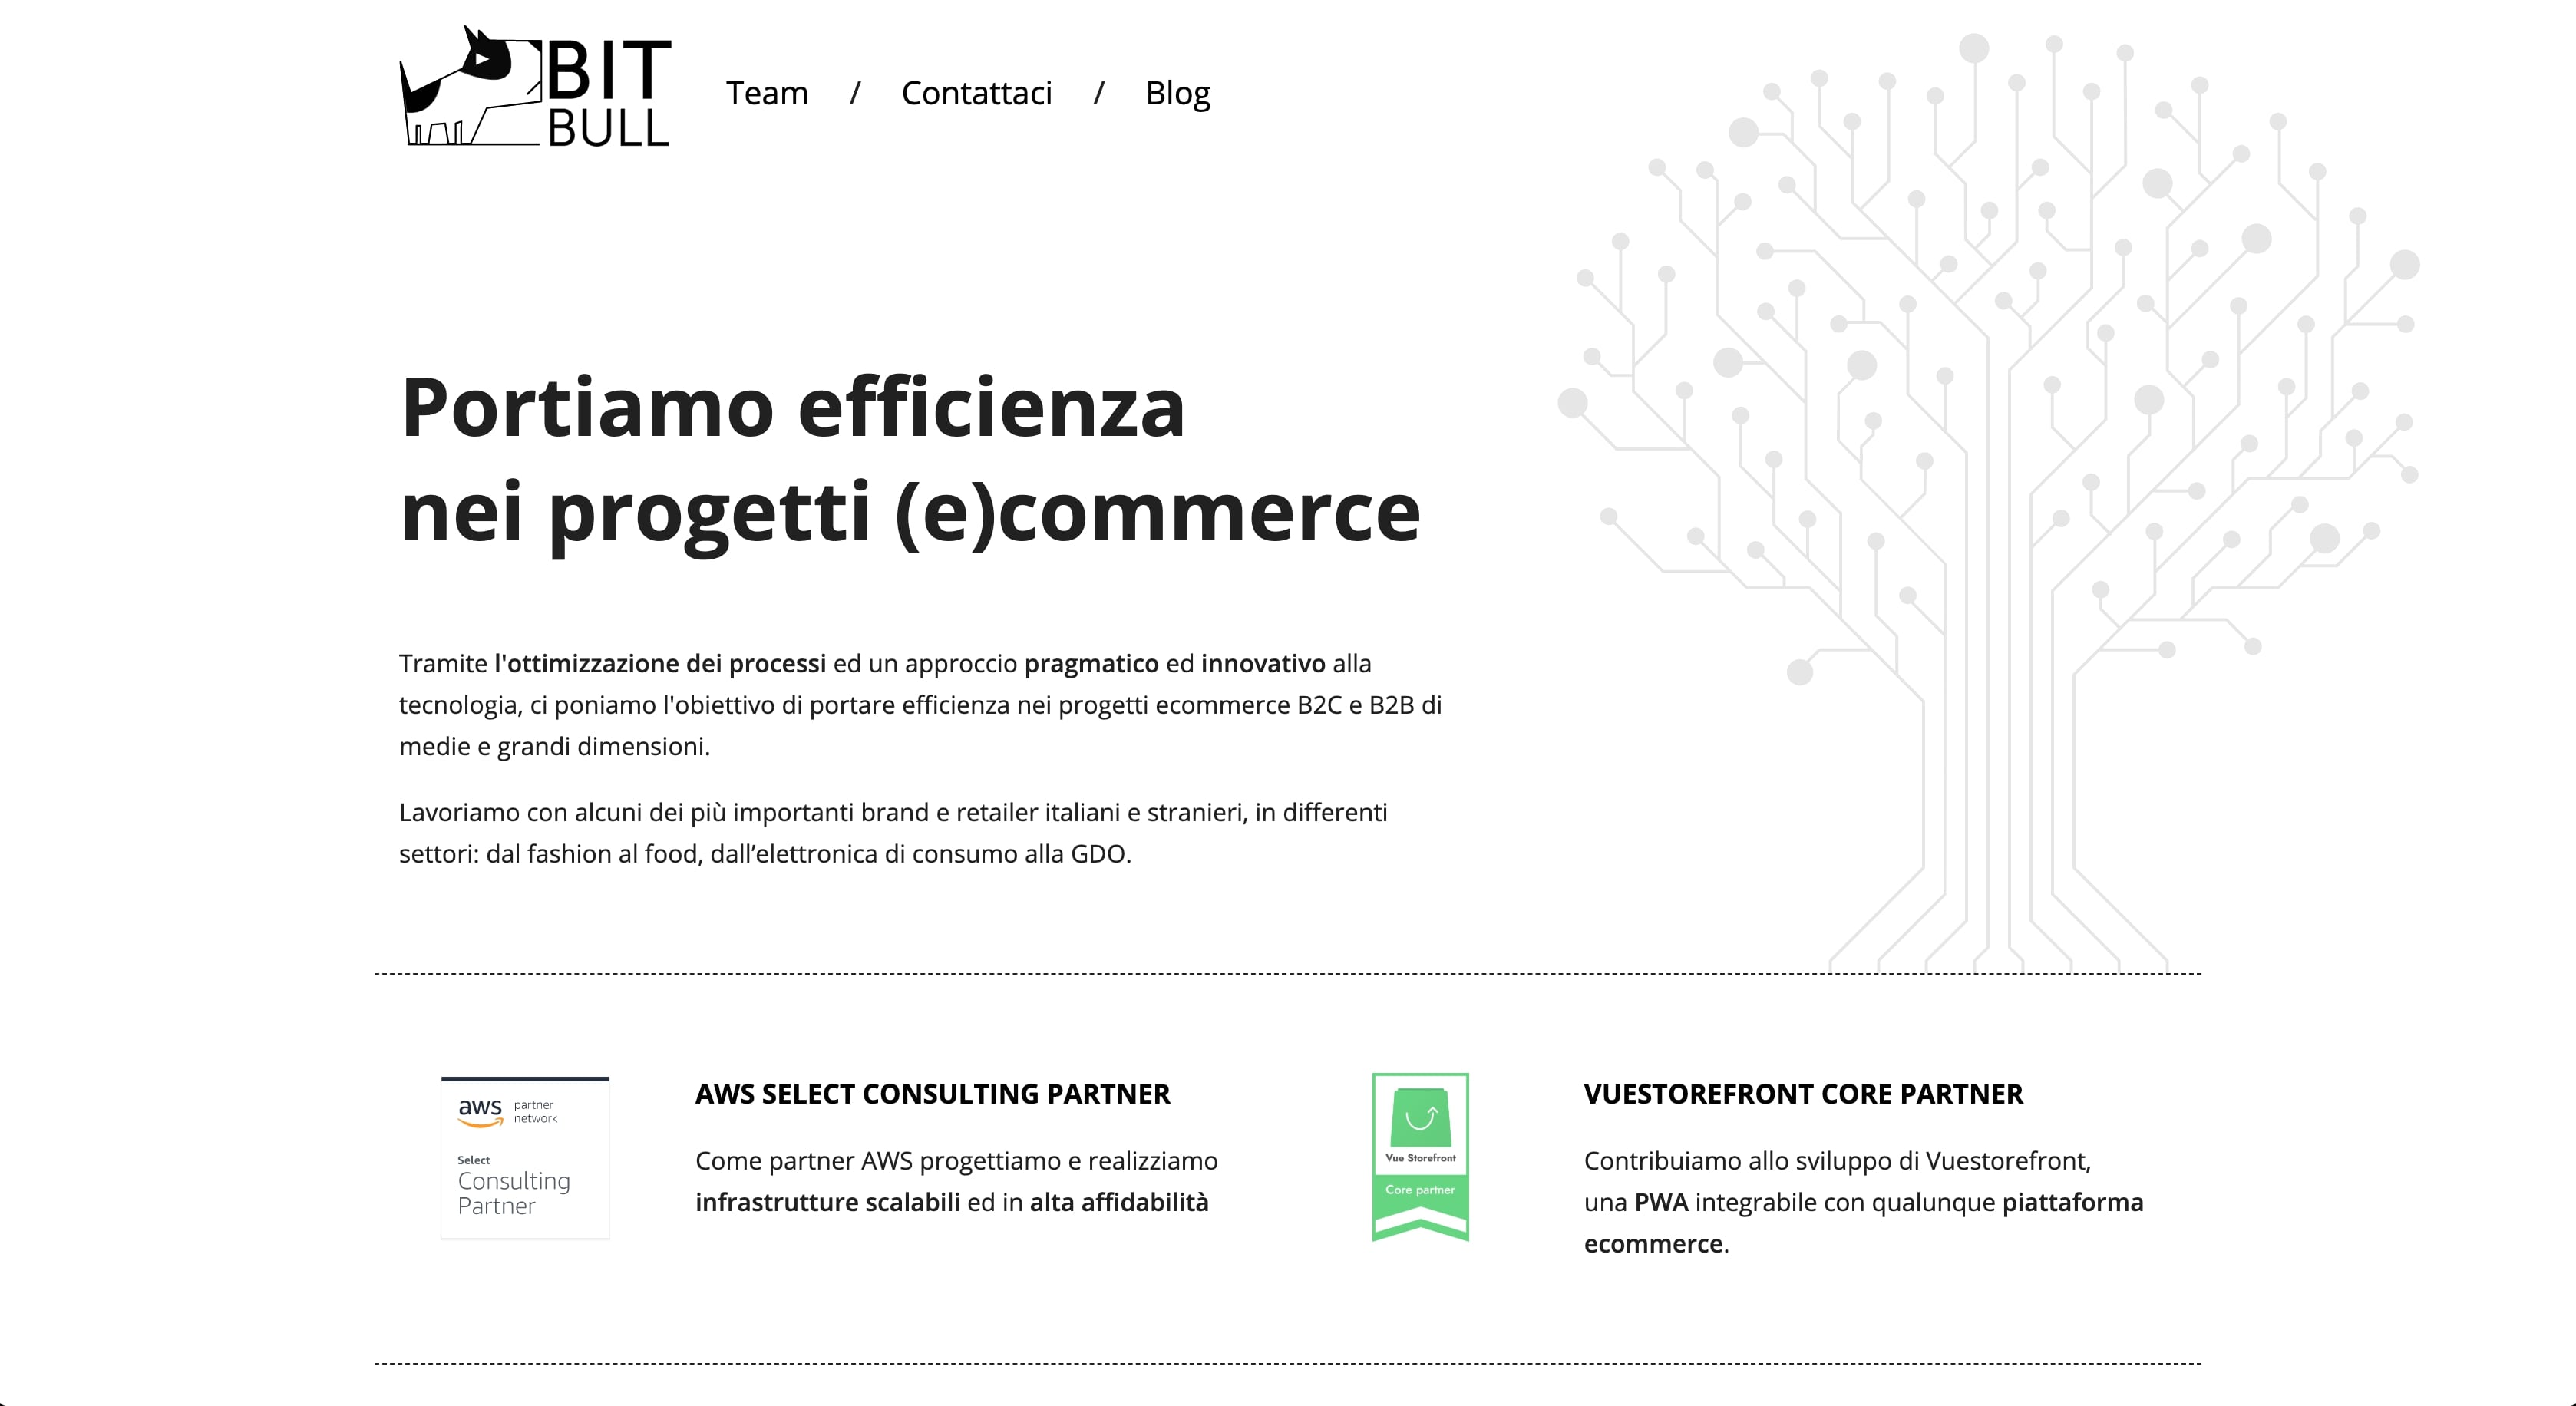
Let’s start from the single one and from the homepage. As we know, the homepage is a special page that is never repeated on a site because usually has a different layout and style. So it’s the perfect candidate for the single custom type of Prismic.
As we can see, our homepage is made by an initial block with a title and a description plus a block below that contains two similar blocks which can be repeatable.
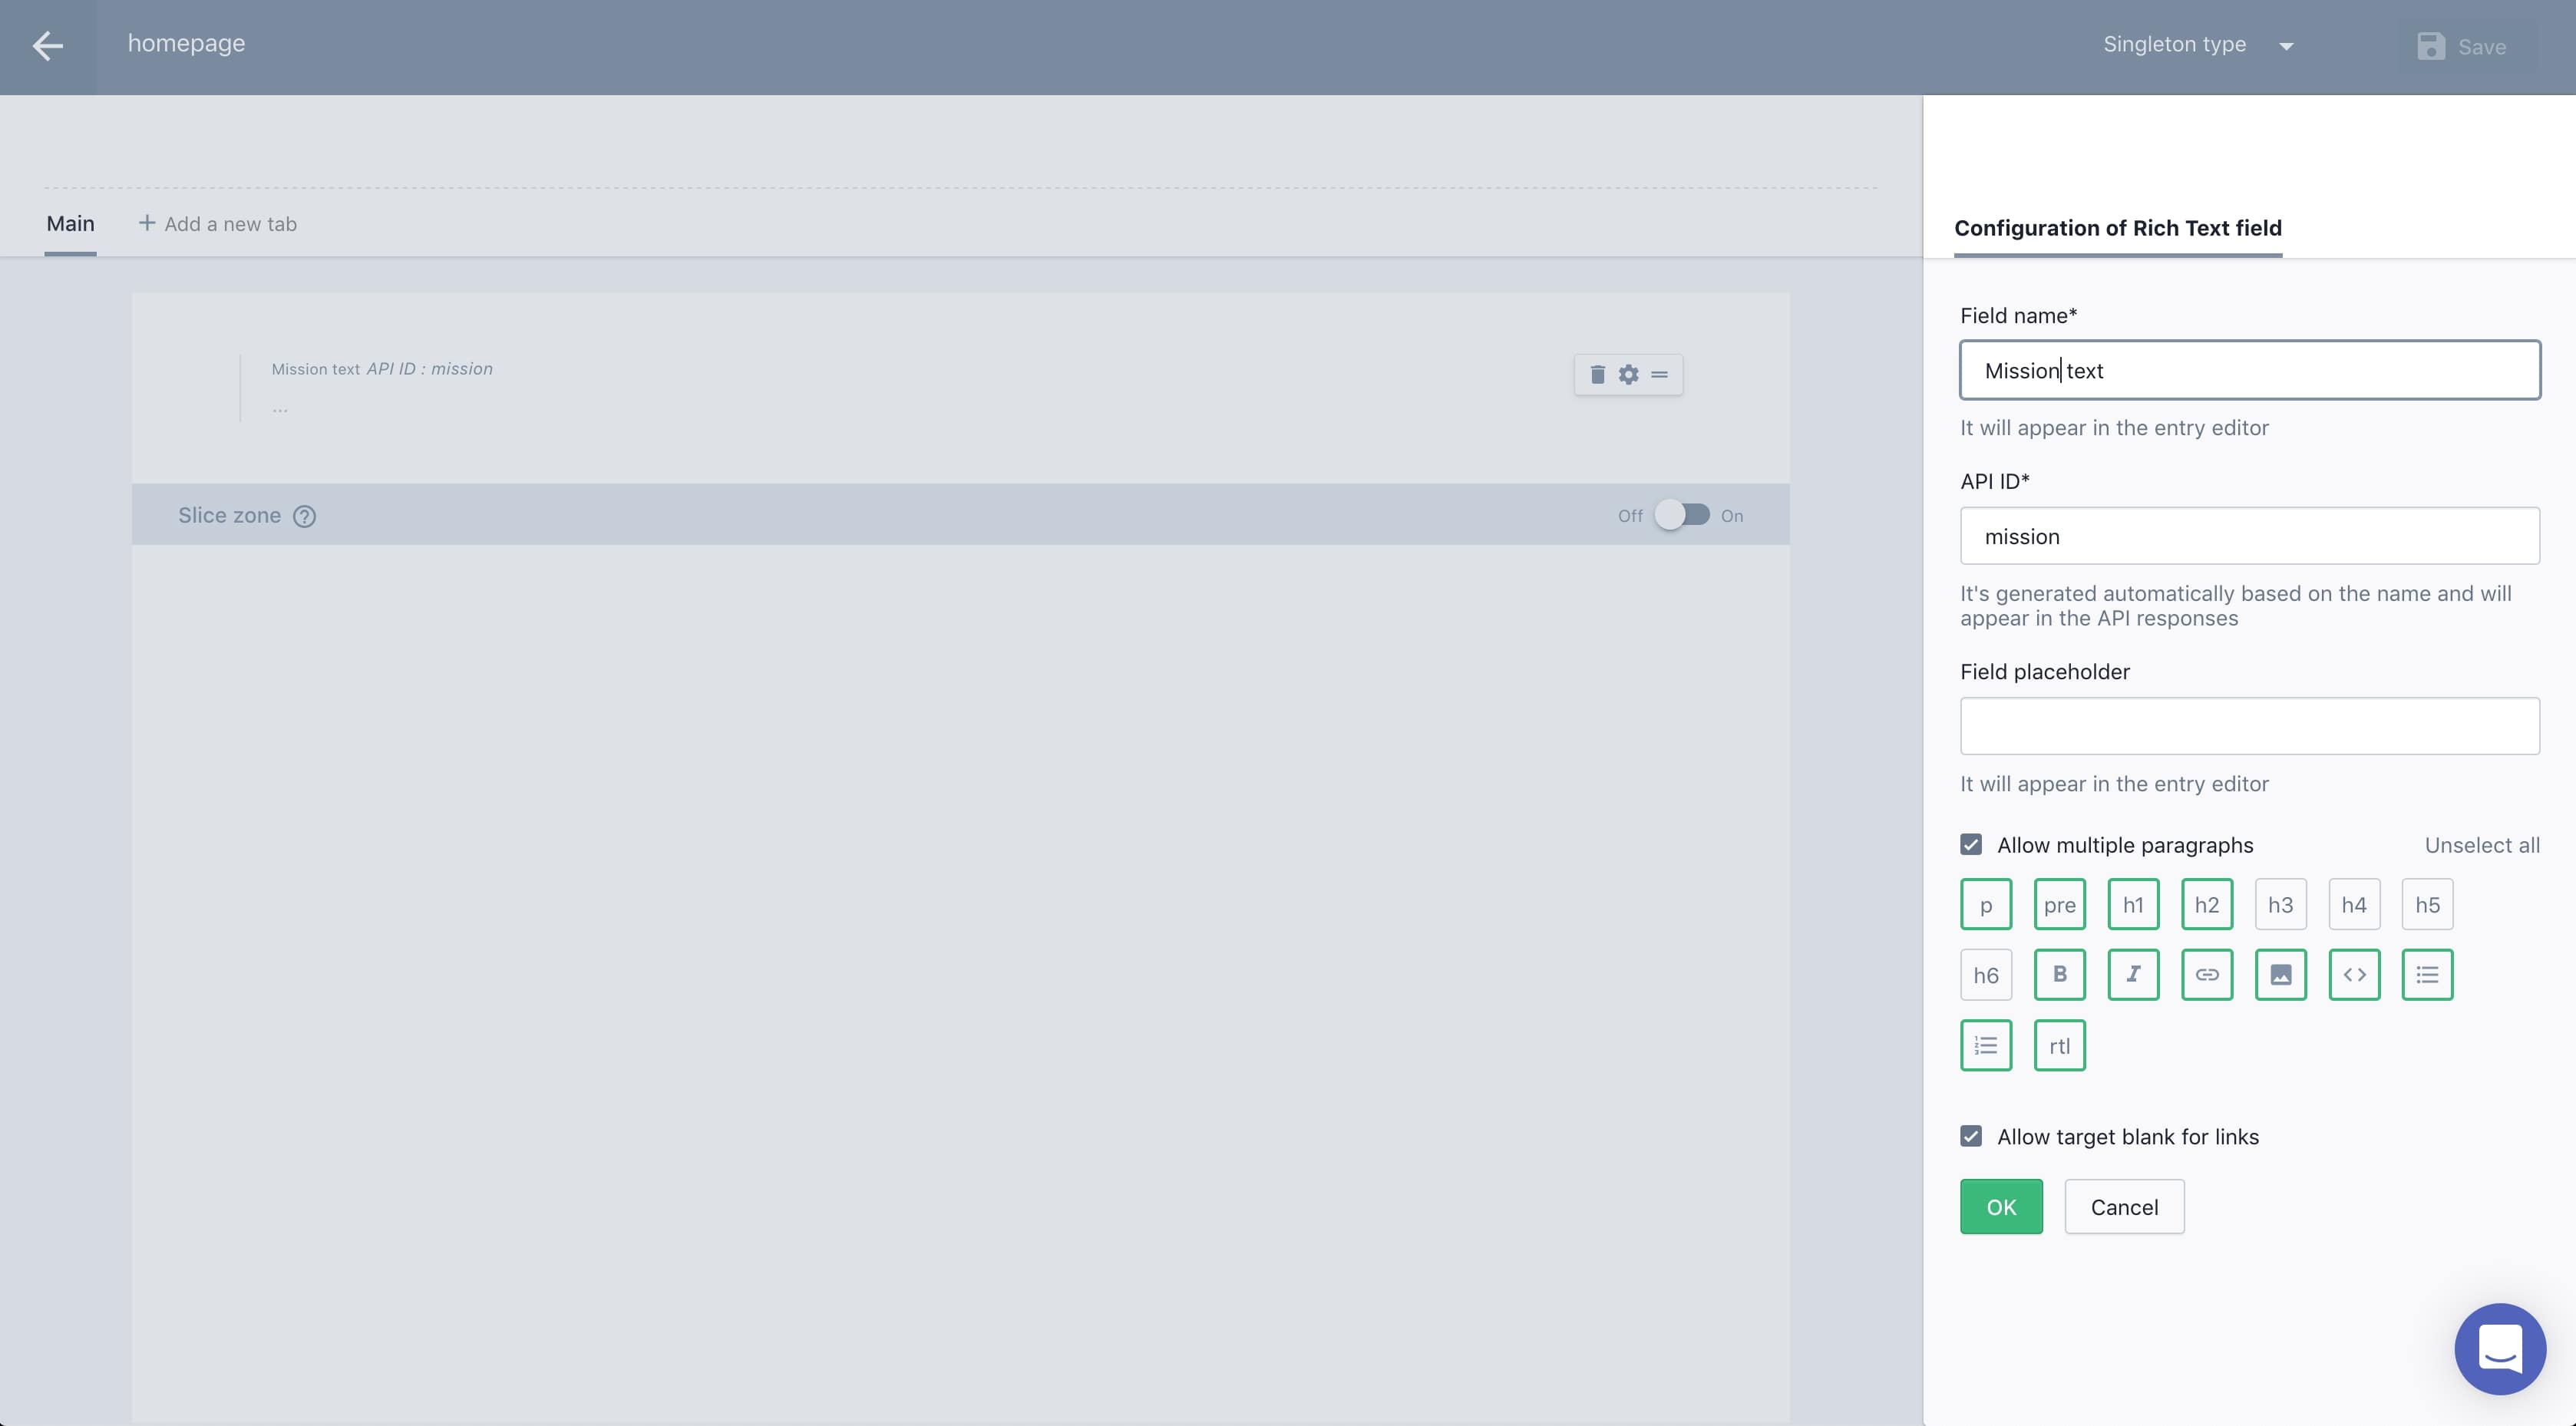
Prismic provides a list of different fields, like title, rich text, link etc..
For this first block, we may suppose to use a title field + a rich text field or even just a single rich text field with the possibility to use more tags (which we’re going to define). I’m going to use this last one to leave the editor free to format text and choose the order of elements, but nothing forbid you to constrain the content to an order and tags selection set up in advance.
Let’s save and go to create our homepage straight away adding the data that we can easily copy and paste.
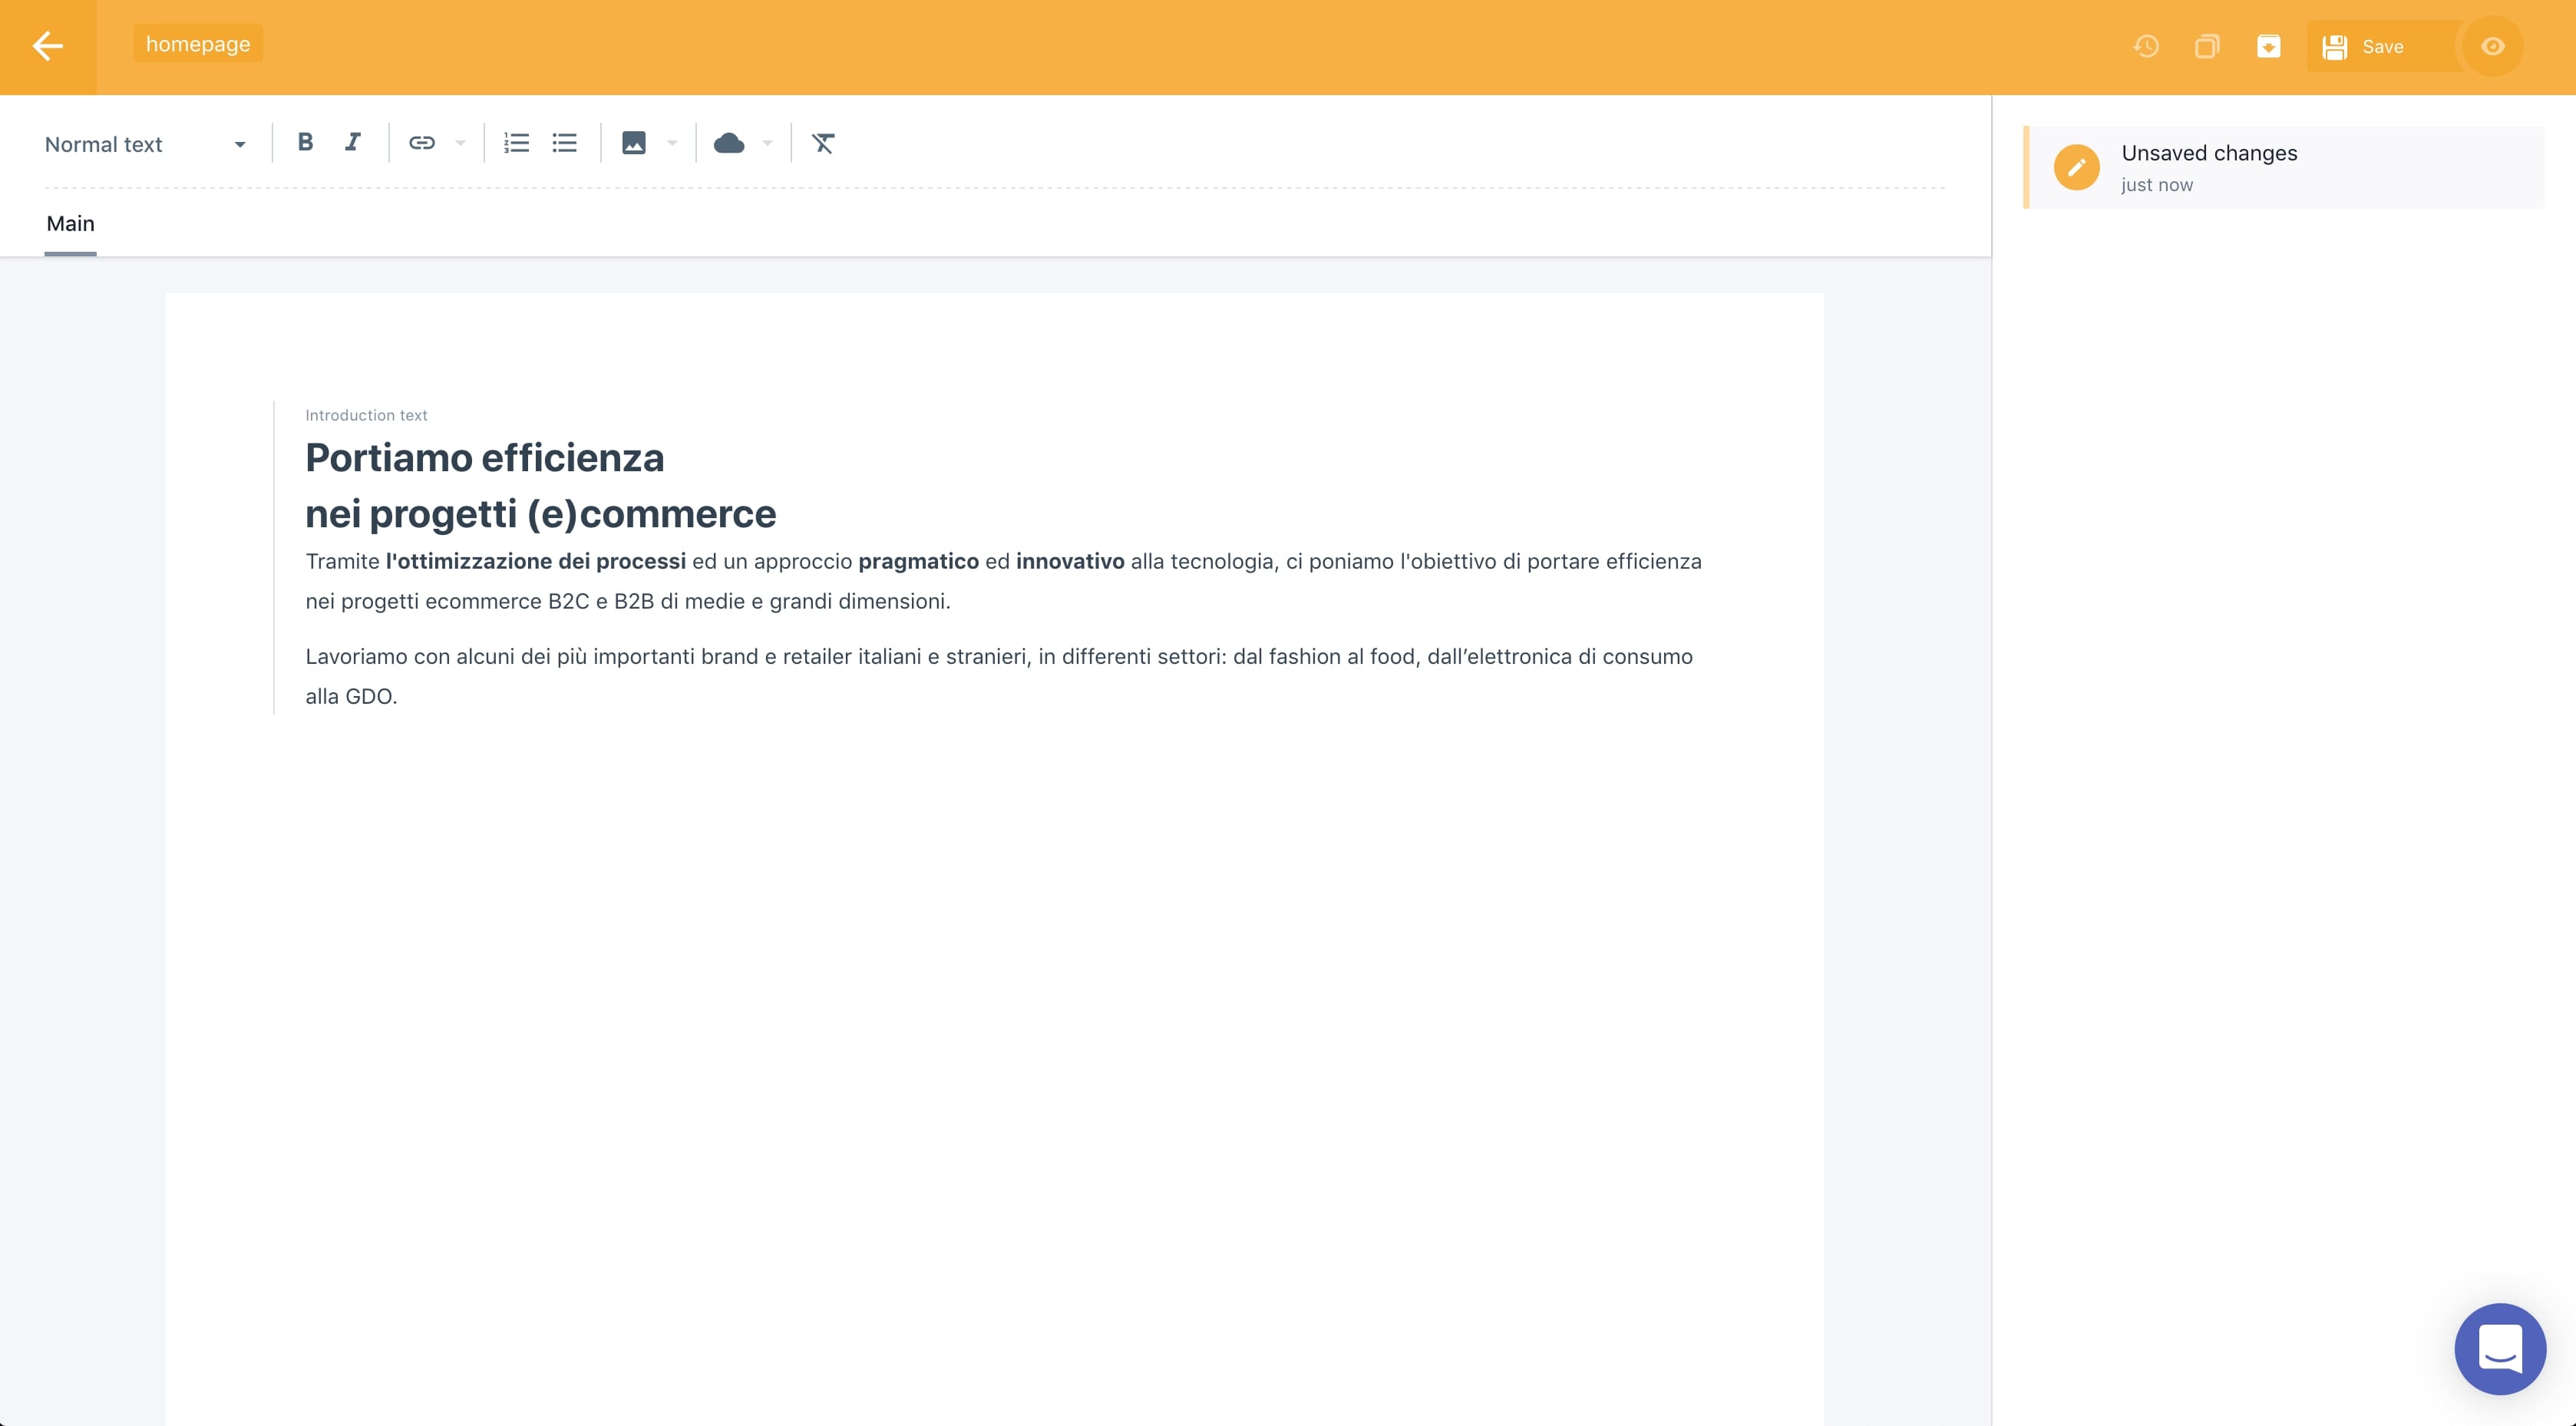
So let’s compile our first field, save and publish (only “saving” your page won’t publish it, but it will save a draft of your page on Prismic). The top bar will change colour from yellow to green and we are now online!
How can we fetch the data?
First, let’s make sure everything went well. If we copy our personal endpoint and we add /api/v2
https://<YOUR-REPO-NAME>.prismic.io/api/v2
we land on a dashboard that let us query our endpoint.
From this page we can click on “Search documents” and have a list of all documents already created, or we can query them specifically using the predicates.
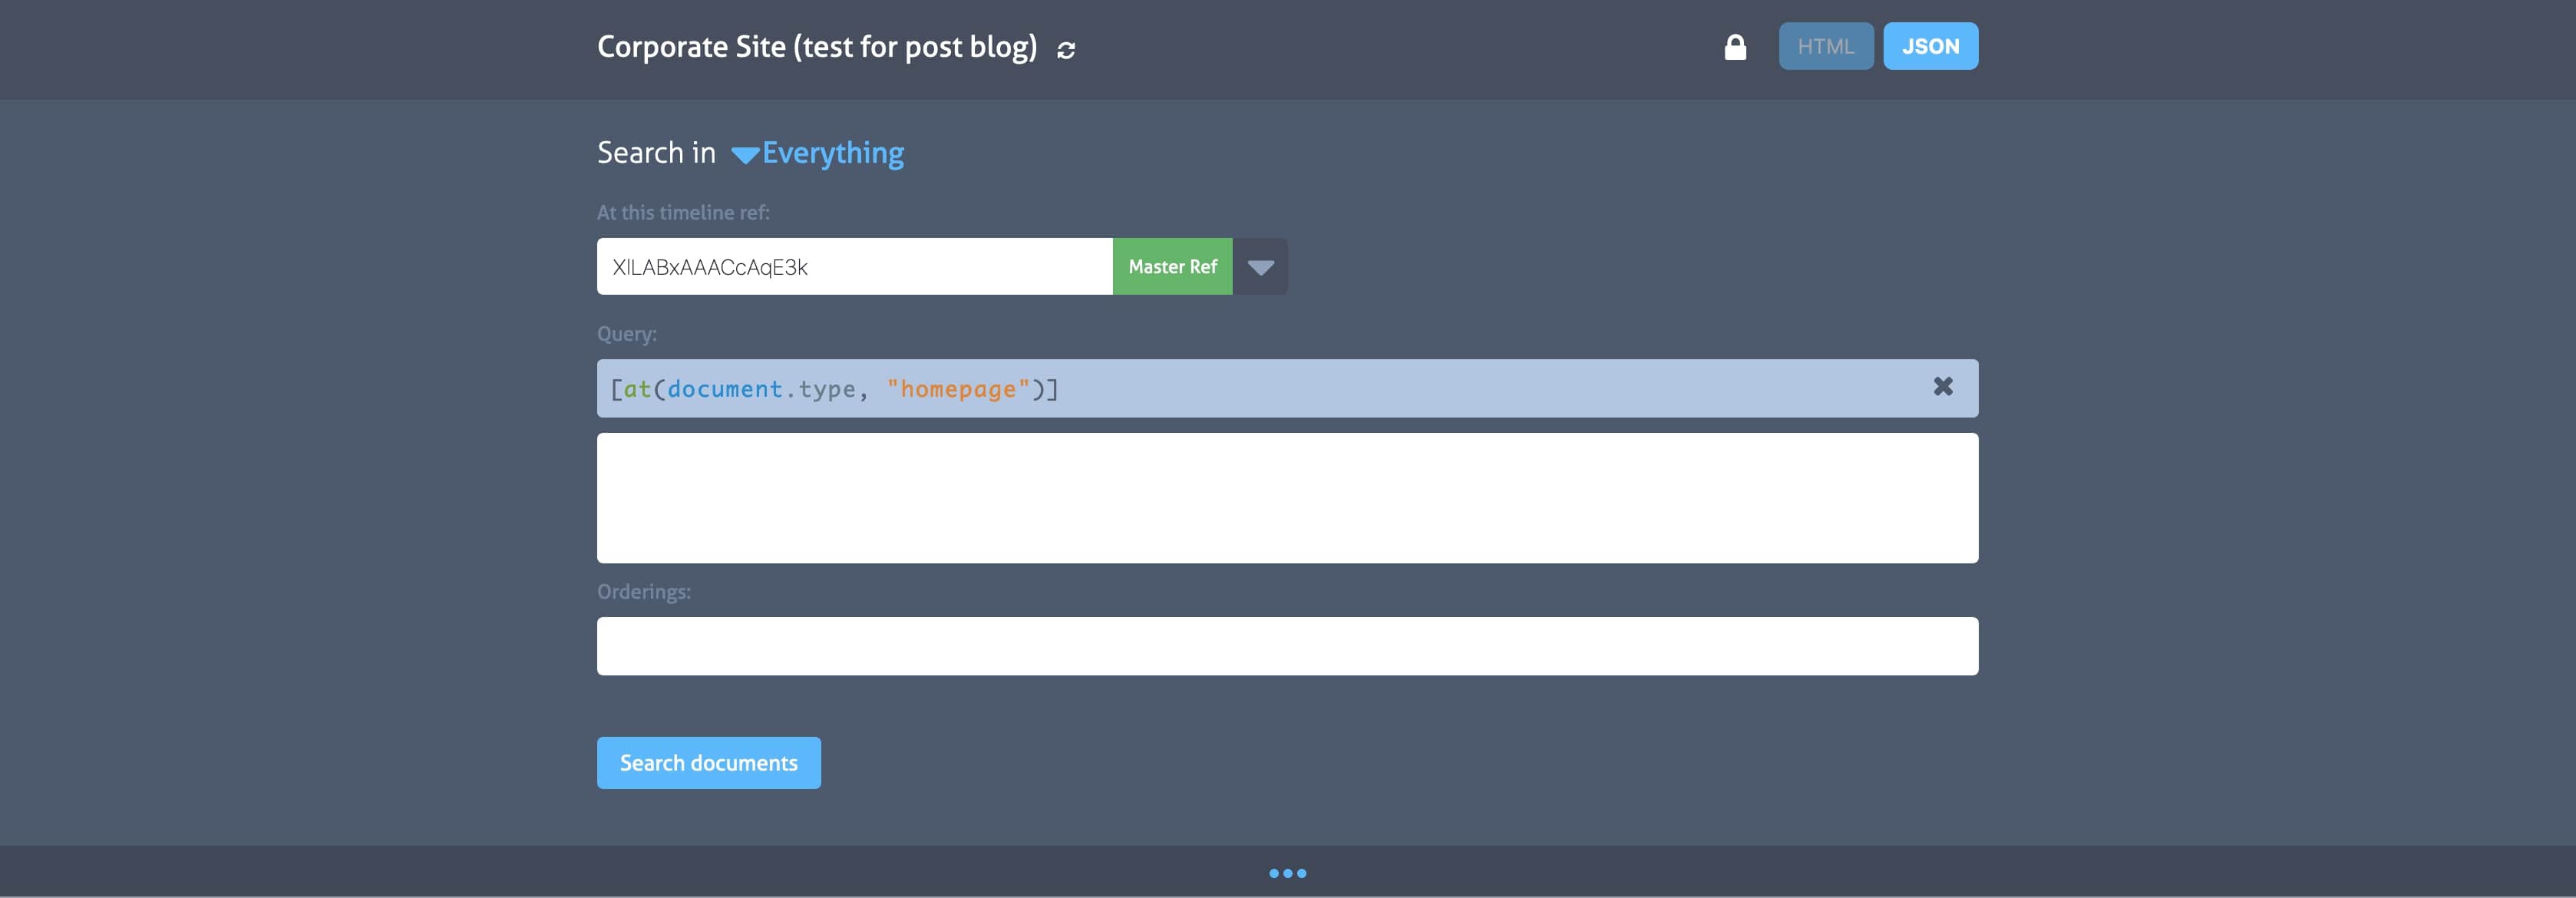
Clicking on the top button “JSON” and then “Search documents” we’ll get the json with all data, so let’s check if all data are there.
They are ;) so we can put our hands back on the Nuxt project and fetch these data inside the website.
Prismic configuration on Nuxt
The creators of Nuxt already thought about us and created a Nuxt module that wraps the original one which simplifies our work.
npm i @nuxtjs/prismicnuxt.config.js
/*
  ** Nuxt.js modules
  */
modules: [
  ...
  // Doc: https://prismic-nuxt.js.org/docs/getting-started
  '@nuxtjs/prismic'
],

/**
  * Prismic module configuration
  */
prismic: {
  endpoint: 'https://YOURENDPOINT.prismic.io/api/v2',
  linkResolver: '~/prismic/link-resolver.js'
},
As reported in the official guide of the module we also need to create a link-resolver.js file with this content:
prismic/link-resolver.js
export default function (doc) {
  return '/'
}
More information about the link resolver on the Prismic guide.
The Nuxt module already comes with the components that Prismic itself provides for the parsing of some of his fields that surely we’re going to use.
So now, let’s open our homepage and make the first call!
pages/index.vue
async asyncData({ $prismic, error, app }) {
  const doc = await $prismic.api.getSingle('homepage')

  if (doc) {
    return {
      page: doc.data || doc
    }
  } else {
    error({ statusCode: 404, message: 'Page not found' })
  }
},
To query our repository, let’s always refer to the Prismic guide. There are many queries that we can run (Query Single Type, by ID & UID, All Documents, by Type, by Tag, by Date, by a Field). For the homepage we need to query a single type.
Clearly, as we’re using the Nuxt module and not the direct Prismic API we need to refer to the Prismic guide as well as to the NuxtPrismic guide to know what we can use. As found into the doc, all methods we need are inside $prismic. Knowing this, here’s what we need to write to fetch our homepage data:
await $prismic.api.getSingle('homepage')
which is an helper that basically run a longer query (which can be used instead):
await $prismic.api.query(Prismic.Predicates.at('document.type', 'homepage'))
We’ll add a control on the result of this call throwing a 404 error page in case it won’t fetch any data.
In positive case, instead, we’ll find inside the page property of data all the data concerning our page and we can go and render it through one of the Prismic components mentioned before, <prismic-rich-text>:
pages/index.vue
<template>
  <div class="container">
    <section class="home-section mission">
      <div class="mission__text">
        <prismic-rich-text v-if="page.mission" :field="page.mission" />
      </div>
      ...
    </section>
  </div>
</template>
This will correctly render the tags <h2> and <p> which we used in the document without any other parsing to do.
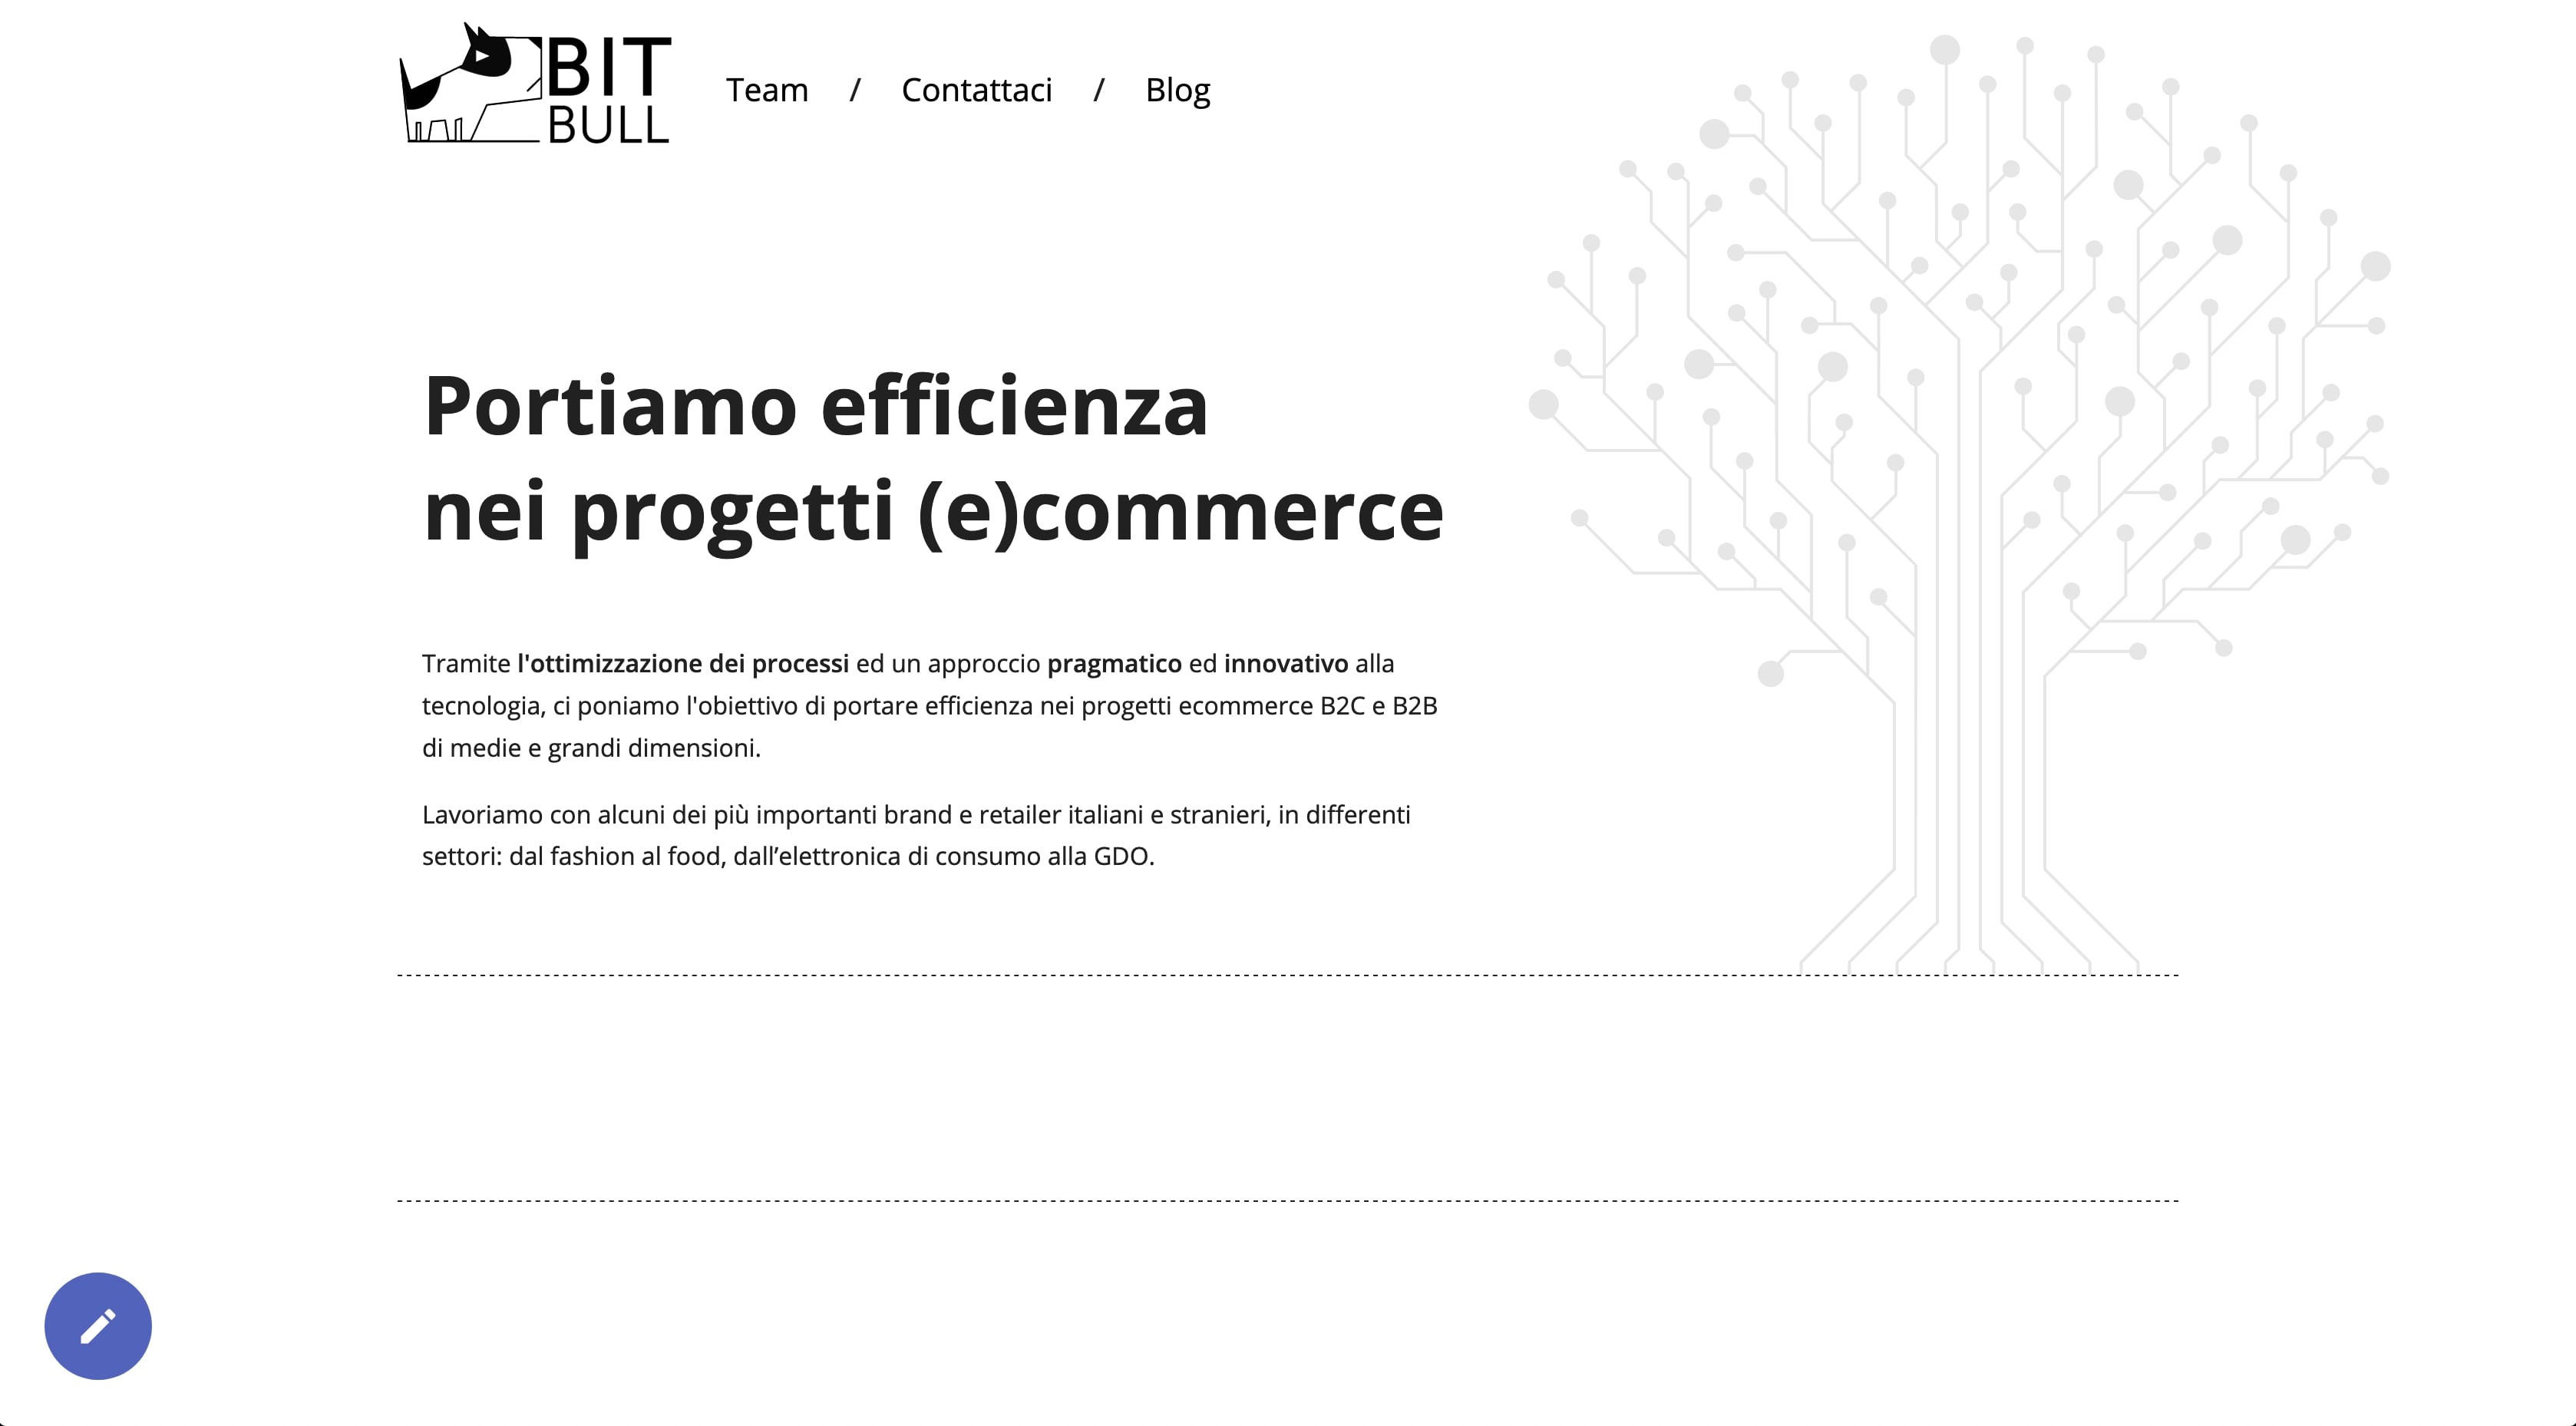
Do we remember that we wanted to make a multilingual website? Well, Prismic also provides the possibility to manage translated content out of the box after a very easy and fast configuration. Let’s see how.
Let’s go back to Prismic and click on the bottom-left “Settings” button and from the page loaded on the menu “Translations & locales” in sidebar.
In this screen let’s select the language we want and add it.
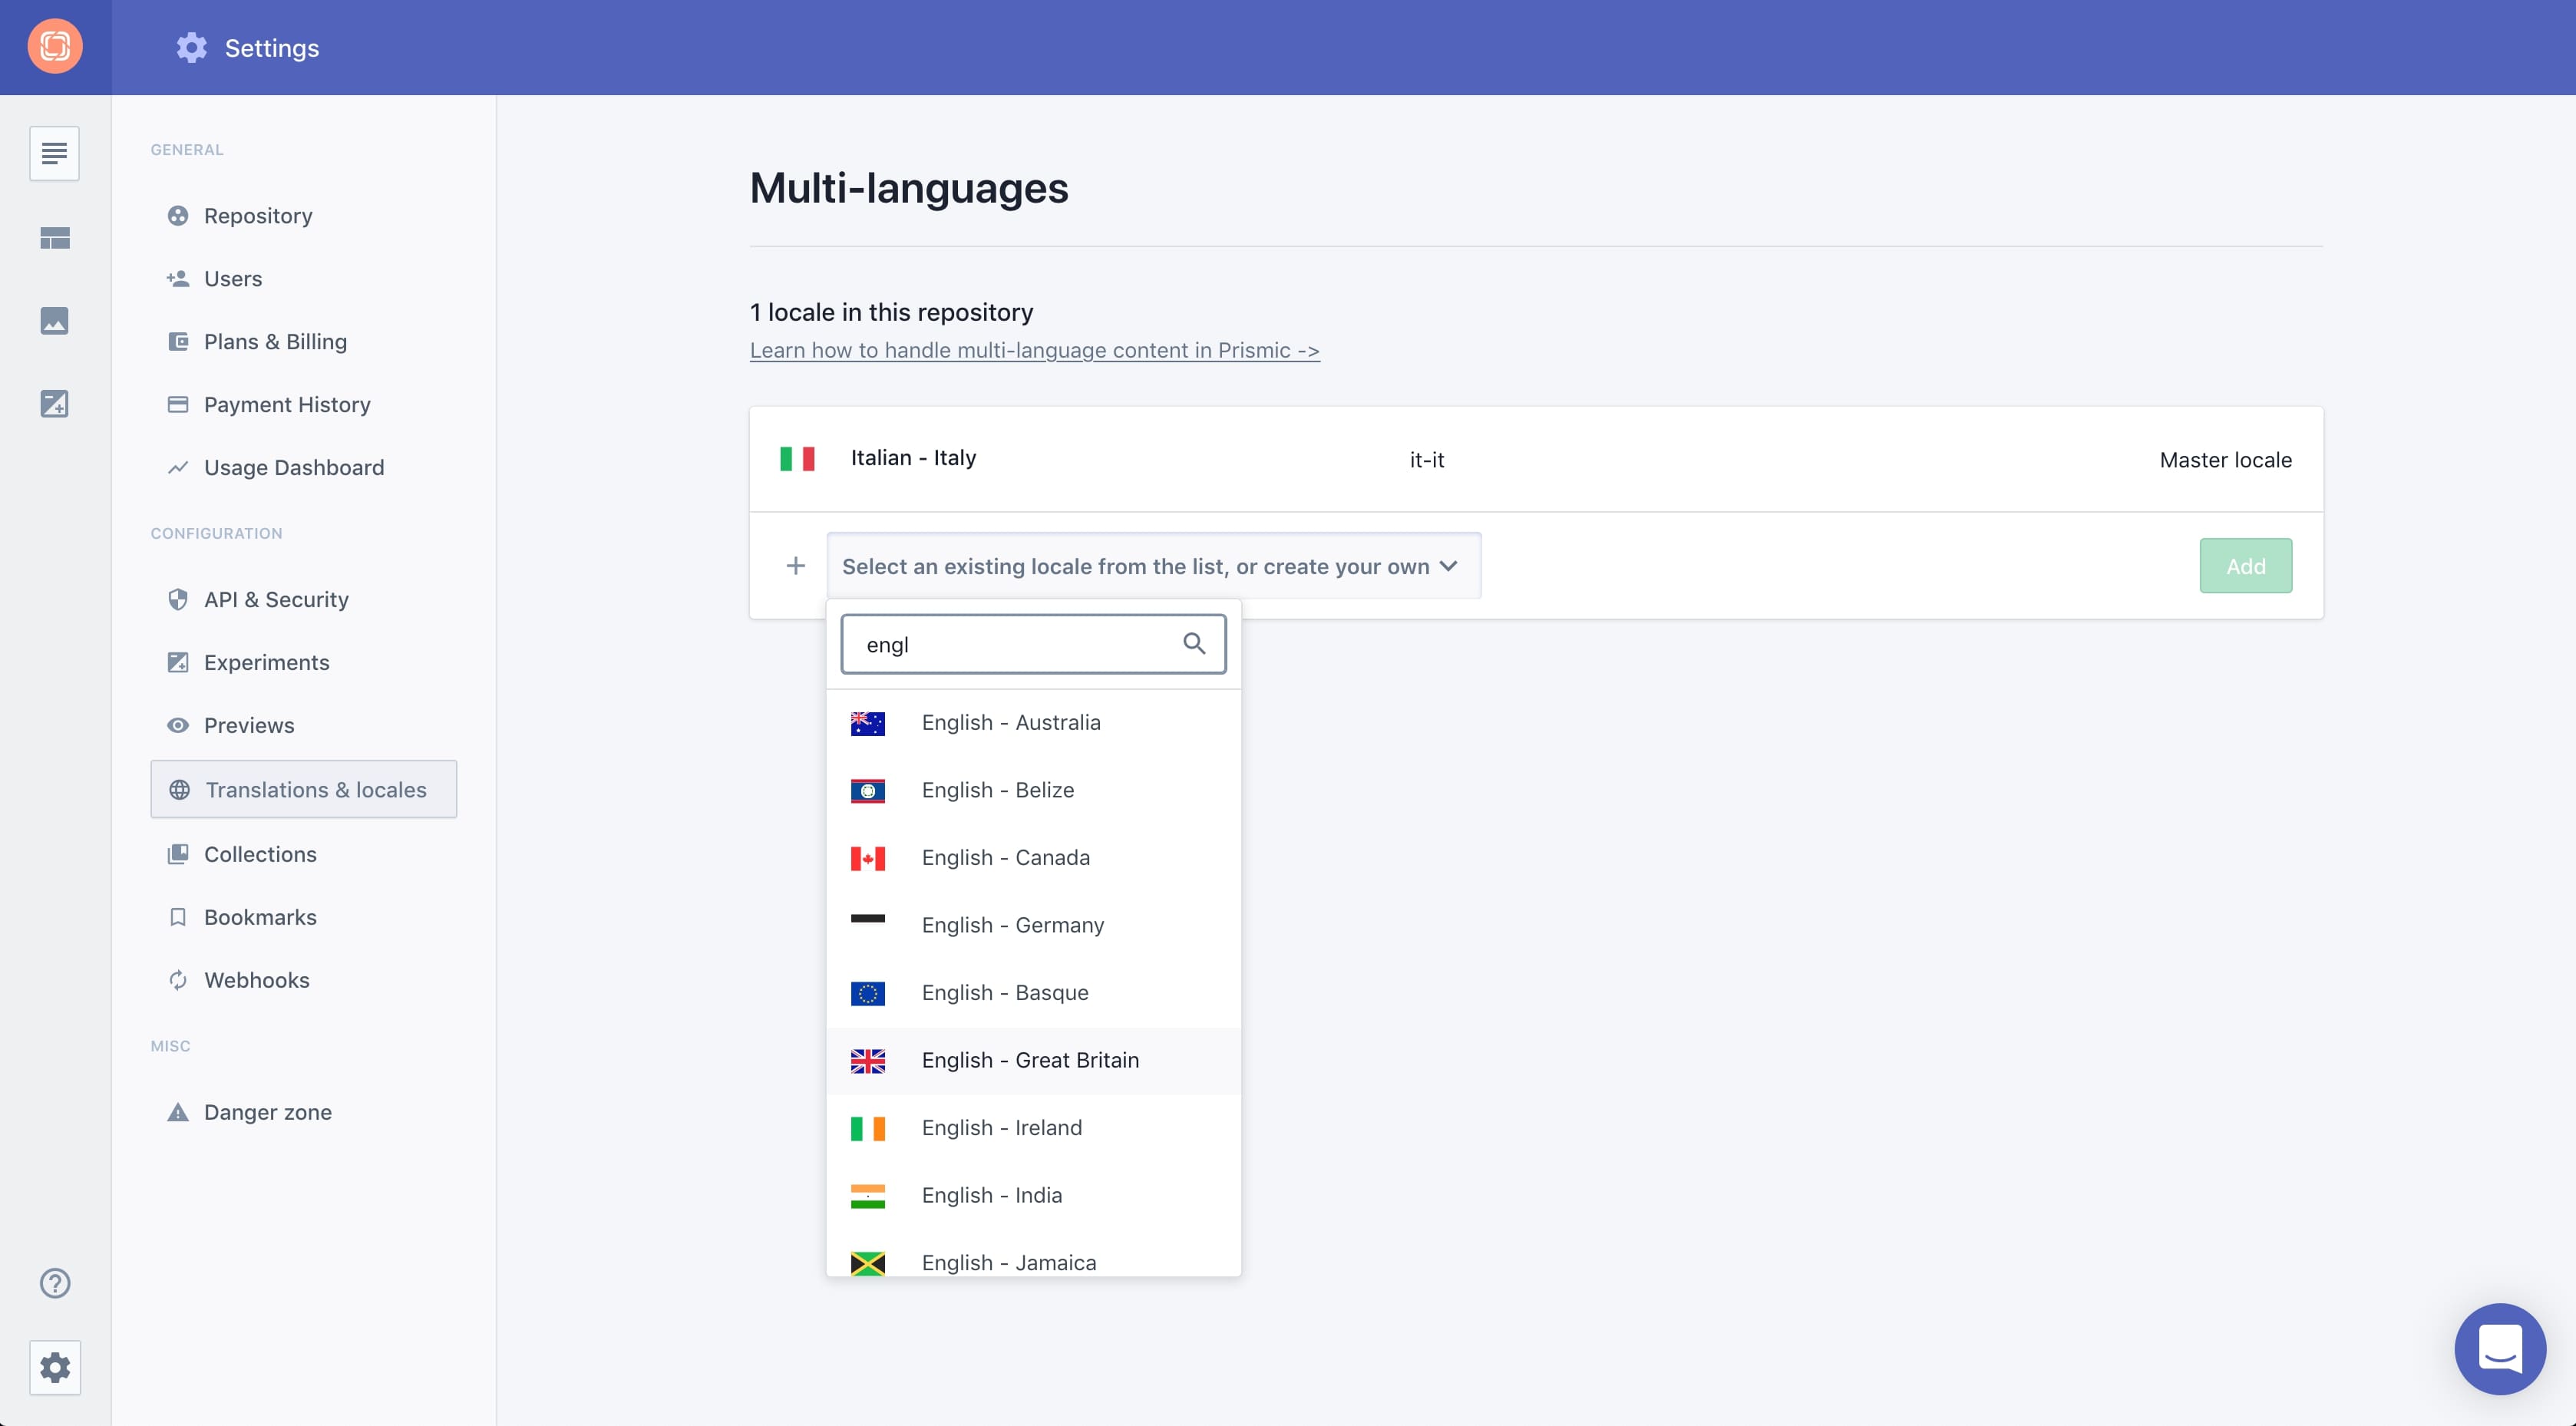
Done!
Now, going back to the content tab, we’ll find a new dropdown for the language so let’s select the language just added and there we can see a label “to translate” next to every document not yet translated. At this point if we click and add the translation we’ll have our page translated.

But our frontend call miss a check now. So let’s got to Nuxt and add it.
As the Prismic guide says, we need to pass to the query an object with the ISO code for the languange in lowercase, for instance: { lang : 'fr-fr' }.
Then we’re going to get them from our Nuxt configuration that, I remind you, is:
i18n: {
  locales: [
    {
      name: 'Italiano',
      code: 'it',
      iso: 'it-IT',
      file: 'it.js'
    },
    {
      name: 'English',
      code: 'en',
      iso: 'en-GB',
      file: 'en.js'
    }
  ],
}
For this, we’ll use a js filter to get the object of the current locale:
app.i18n.locales.filter((lang) => lang.code === app.i18n.locale)[0]
and then pass the ISO code of the object in lowercase:
{
  lang: currentLocale.iso.toLowerCase()
}
pages/index.vue
async asyncData({ $prismic, error, app }) {
  const currentLocale = app.i18n.locales.filter((lang) => lang.code === app.i18n.locale)[0]
  const doc = await $prismic.api.getSingle('homepage', {
    lang: currentLocale.iso.toLowerCase()
  })

  ...
},
Now let’s manage the two partner blocks :)
For this we’re going to use a repeteable group of fields.

For the partner block we’ll give less editing freedom so we’ll create a “key text” field for the title, a “rich text” with the possibility to use only paragraphs, bolds and italics, links and images.
Once saved we’re going to fill the fields in the content section (remember to publish) before going back to Nuxt and complete the page (you’ll see that, as it is a repeatable field, it’s possible to create more than one by clicking on the +).
At this point on Nuxt, back to home page, we simply need to refresh the page to find the new partner data inside the page property as it’s already fetched by the API call we wrote before so we just need to get and print them.
<section class="home-section partnership">
  <template v-for="partner in page.partner">
    <div :key="partner.name" class="partnership__img">
      <prismic-image :field="partner.image" />
    </div>
    <div :key="partner.name" class="partnership__text">
      <h3 class="partnership__title">{{ partner.name }}</h3>
      <prismic-rich-text v-if="partner.content" :field="partner.content" />
    </div>
  </template>
</section>
Prismic Repeatable Type
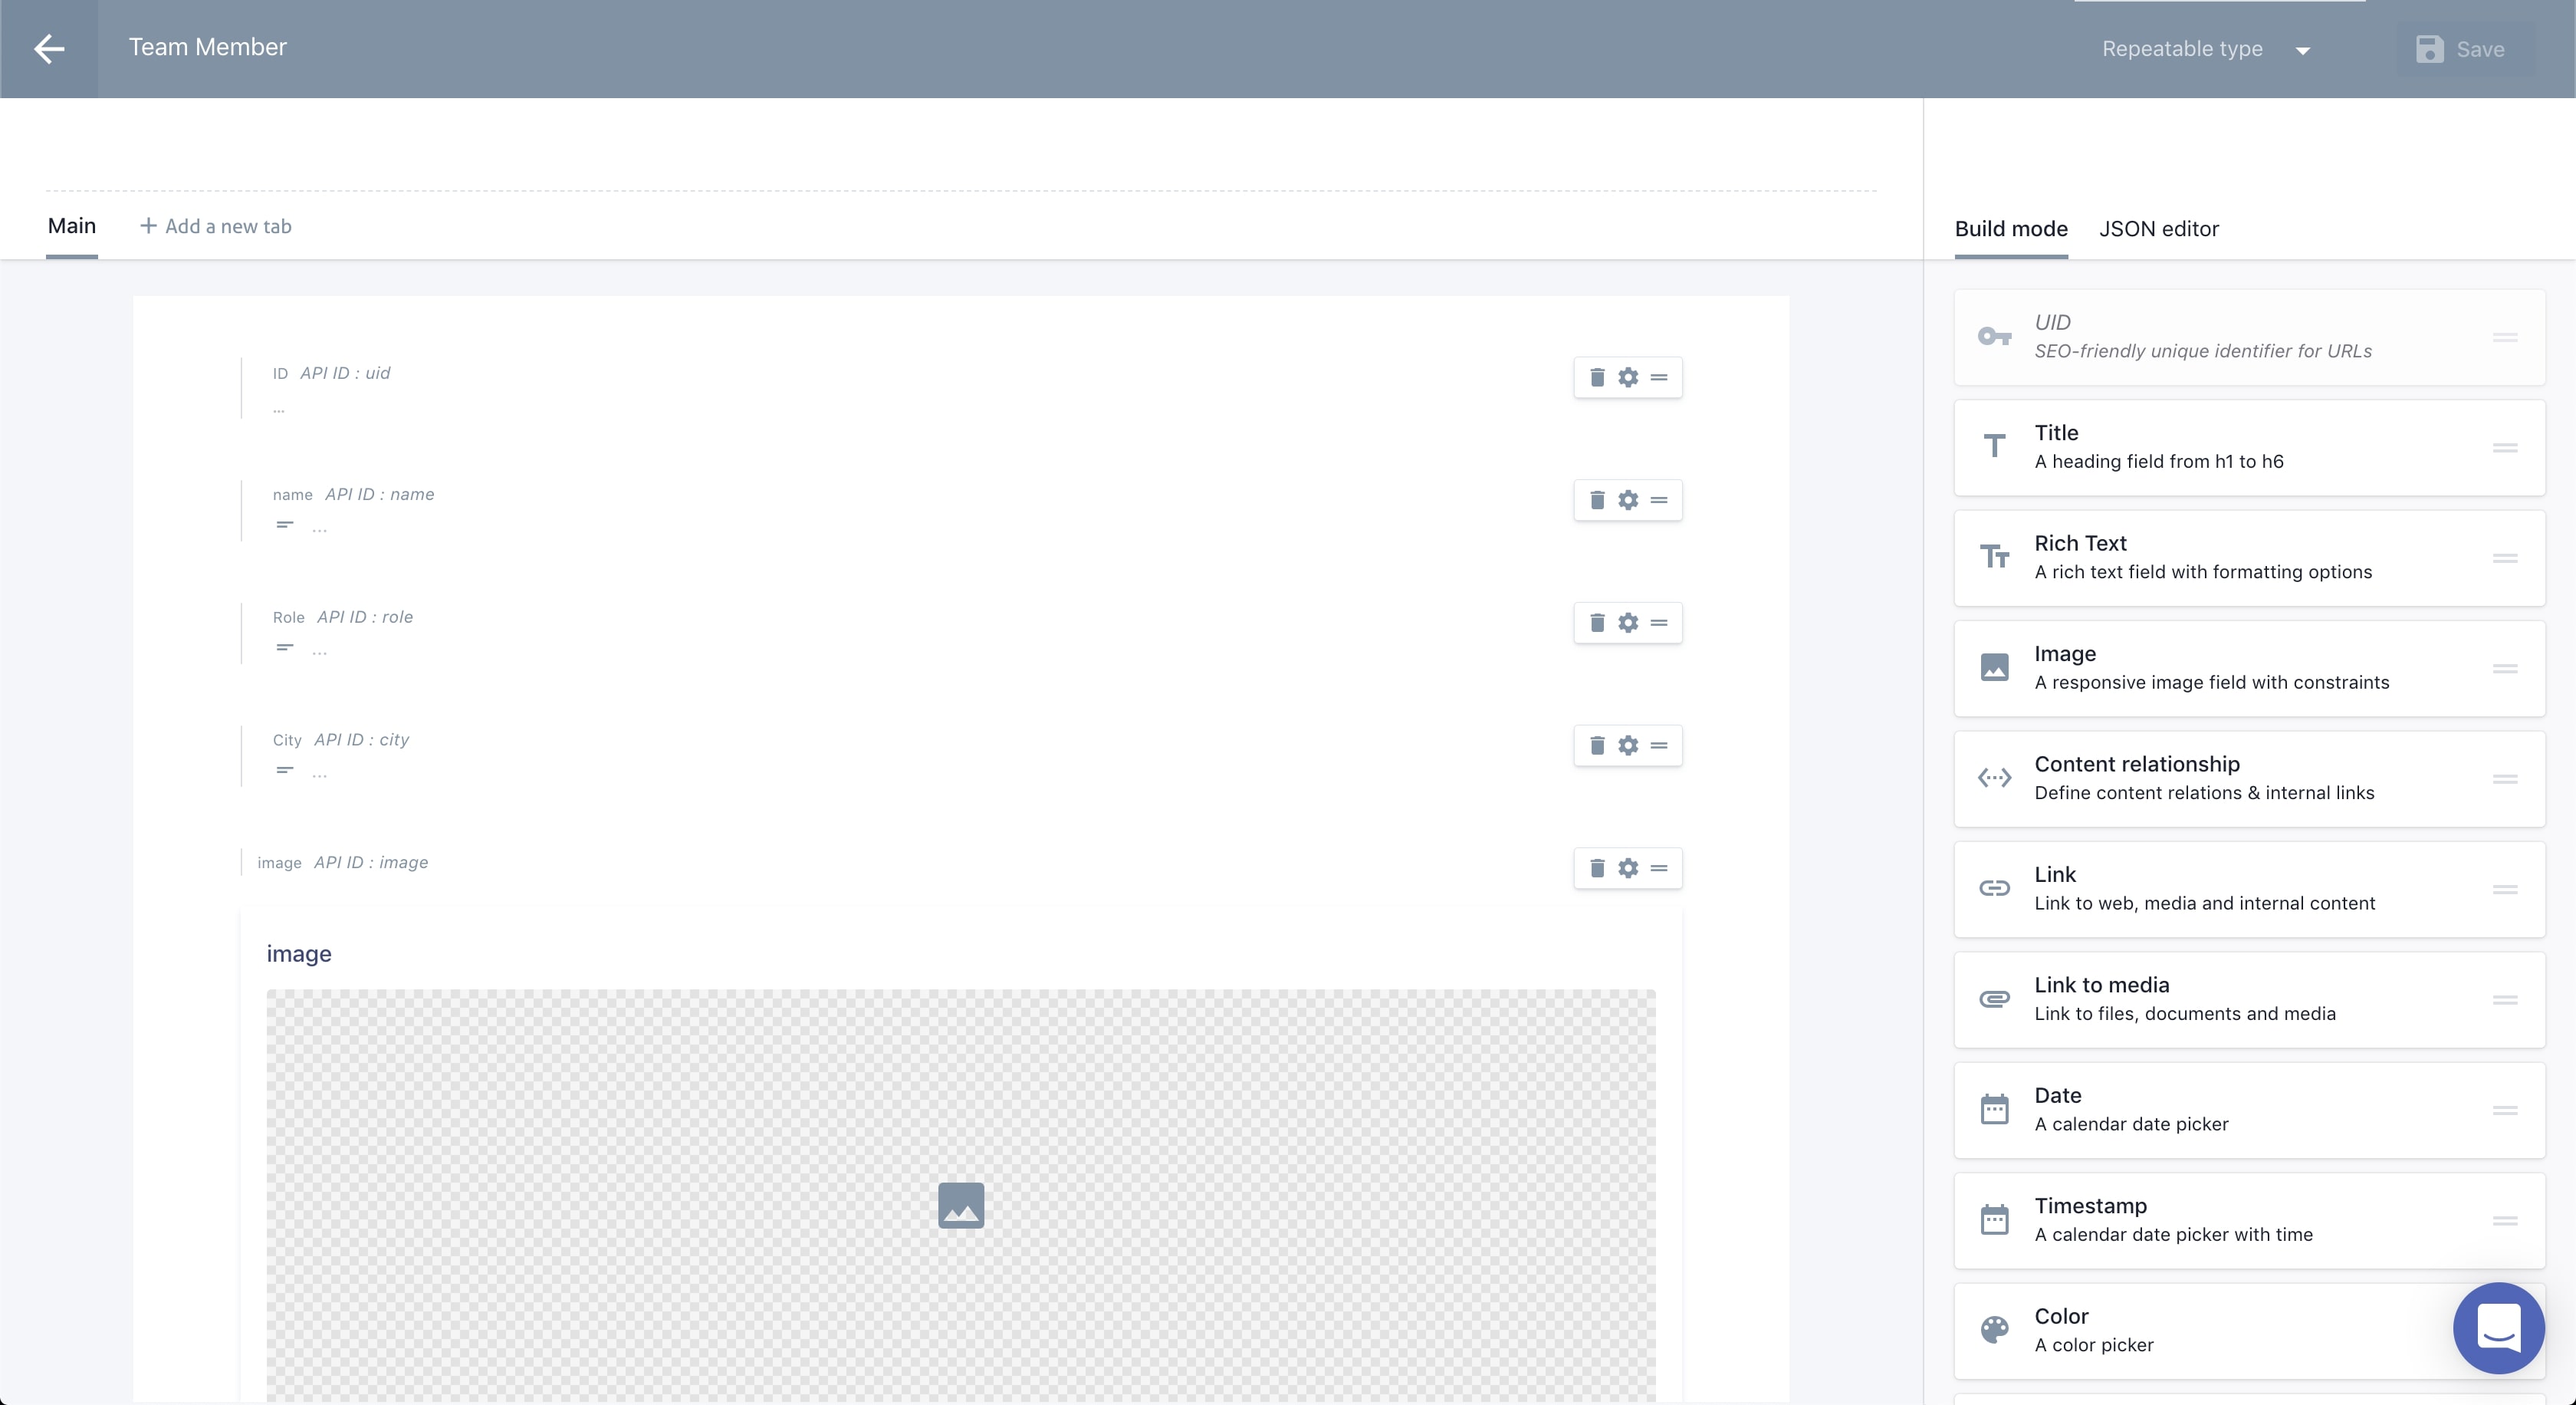
Let’s move now to the post management. These ones, as pages with similar structure but different content, will be instead repeatable custom type on Prismic. So let’s start by creating a schema for our post with the more common fields (uid, title, image, content, author).

The mentioned UID in this case is essential to be able to handle the post detail and it will correspond with the slug of the post.
Concerning the author instead it’s possible to create it as “Content relationship” field and, after creating a repeatable type for the author, define it as constraint. This will allow to link the post to the author (that must be handled on the frontend).
Let’s now go adding a sample content for this custom type as well:
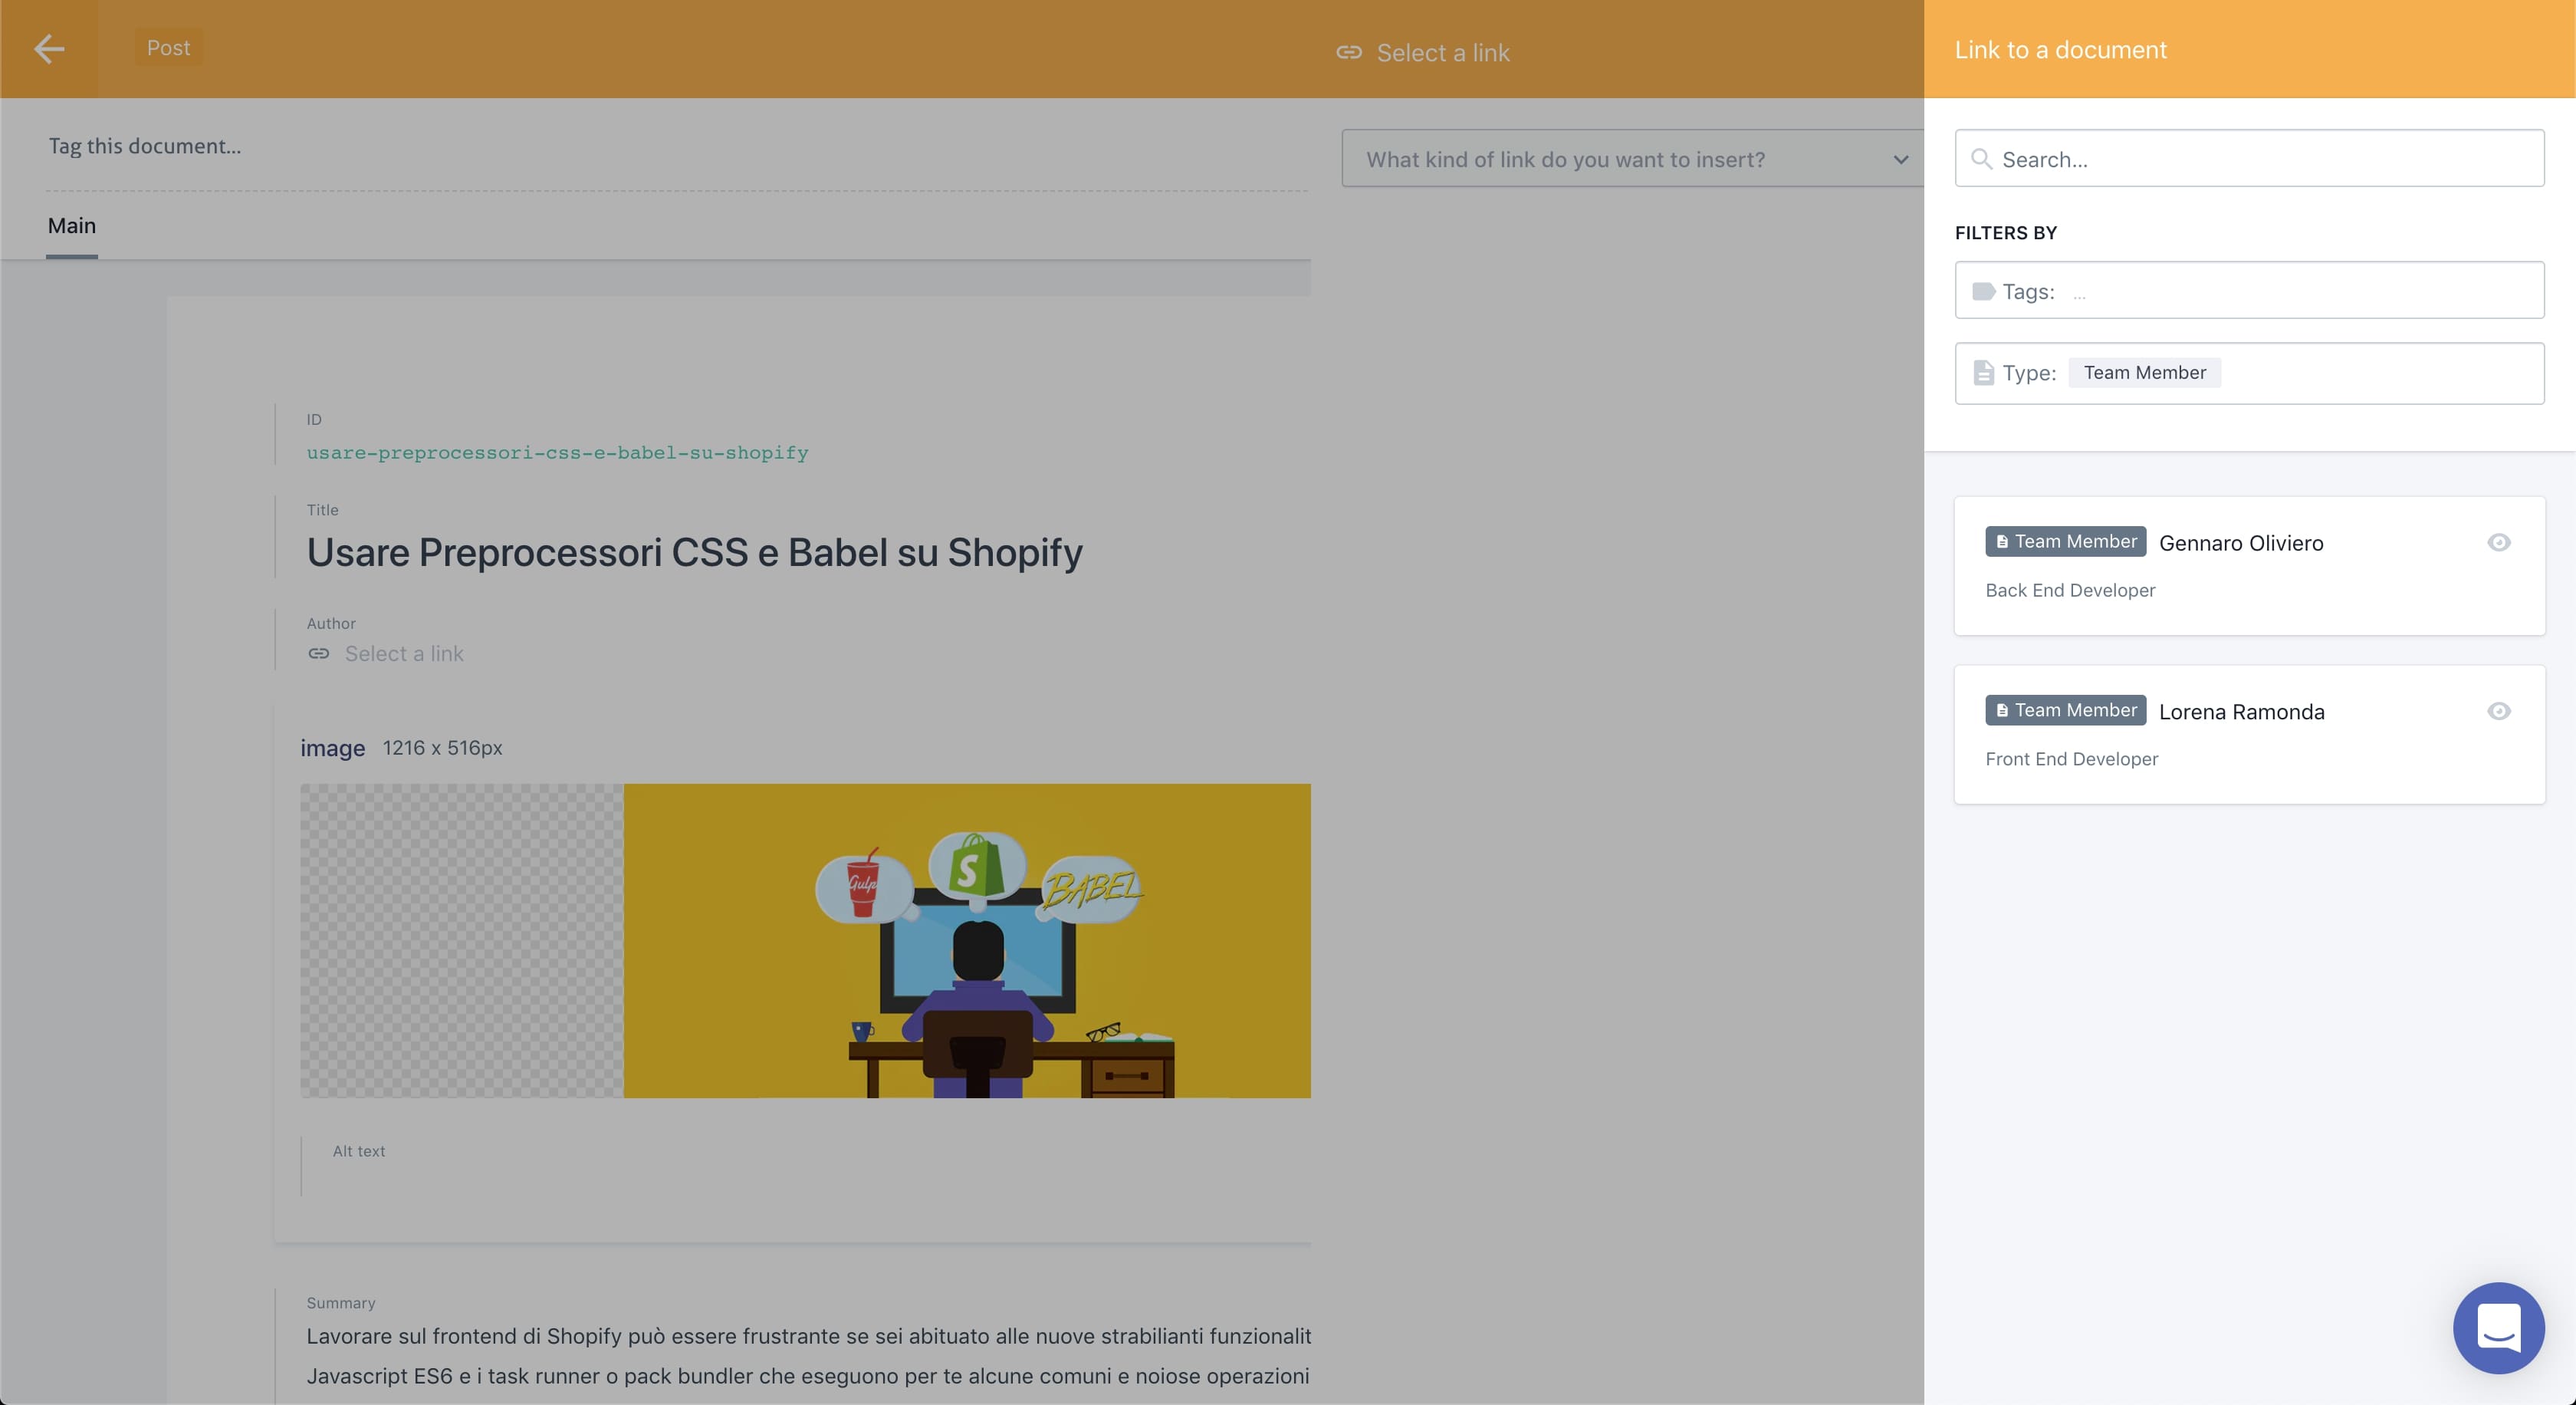
As I said, the author field is a “content relationship” type and here is how the mask to select it looks like once having added all the authors (in this case there are two).
Creating this connection, in a hypothetical author page will be possible to fetch all the post linked to it. But caution! The content relationship fields can only be queried by document id and not by a more user-friendly slug or a field we can manage and that we can know the value in advance, but it’s an ID generated by Prismic. So there may be cases in which this kind of field is not the best choice. But, in our case, a blog, it’s perfectly fitting.
Let’s fetch now our blog page data.
pages/blog/index.vue
async asyncData({ $prismic, error, app }) {
  const currentLocale = app.i18n.locales.filter((lang) => lang.code === app.i18n.locale)[0]
  const doc = await $prismic.api.query($prismic.predicates.at('document.type', 'post'), {
    orderings: '[document.first_publication_date desc]',
    lang: currentLocale.iso.toLowerCase()
  })

  if (doc) {
    return {
      posts: doc.results || doc
    }
  } else {
    error({ statusCode: 404, message: 'Page not found' })
  }
},
In this case, we need to query all the custom types (remember it’s repeatable) by type post always localized and, in addition, ordered (by first date of pubblication decreasing):
pages/blog/index.vue (dettaglio)
$prismic.api.query($prismic.predicates.at('document.type', 'post'), {
  orderings: '[document.first_publication_date desc]',
  lang: currentLocale.iso.toLowerCase()
})
After this we can fill in our markup to show the list of the posts:
pages/blog/index.vue
<ul v-if="posts && posts.length > 0" class="posts-list__wrapper">
  <li v-for="(post, i) in posts" :key="i" class="posts-list__item" :class="{ 'posts-list__item--first': i === 0 }">
    <a v-if="i === 0" href="#">
      <prismic-image v-if="post.data && post.data.image" :field="post.data.image" sizes="(max-width: 990px) 100vw (min-width: 991px) 57vw" />
    </a>
    <a v-else href="#">
      <prismic-image v-if="post.data && post.data.image" :field="post.data.image" sizes="(max-width: 990px) 100vw (min-width: 991px) 33vw" />
    </a>

    <div class="posts-list__item-meta">
      <h3 class="posts-list__item-title">
        <n-link
          :to="
            localePath({
              name: 'blog-post',
              params: {
                post: post.uid
              }
            })
          "
        >
          {{ post.data.title[0].text }}
        </n-link>
      </h3>
      <span class="posts-list__item-author">
        {{ $t('blog.post_of') }}
        <n-link
          v-if="post.data && post.data.author"
          :to="
            localePath({
              name: 'author',
              params: {
                name: post.data.author.uid
              }
            })
          "
          rel="author"
        >
          {{ post.data.author.slug.replace('-', ' ') }}
        </n-link>
      </span>
      <div class="posts-list__item-summary">
        <prismic-rich-text v-if="post.data && post.data.summary" :field="post.data.summary" />
      </div>
    </div>
  </li>
</ul>
Details: LINK TO THE COMMIT.
We’re almost at the end of our journey!
Finally, let’s see how to show the details of a repeateable custom type.
Let’s edit our dynamic page _post.vue found under the folder “blog” to which we’ll pass the UID fetched in Prismic as post parameter (see previous code block).
pages/blog/_post.vue
async asyncData({ $prismic, params, error, app }) {
  const currentLocale = app.i18n.locales.filter((lang) => lang.code === app.i18n.locale)[0]
  const doc = await $prismic.api.getByUID('post', params.post, {
    lang: currentLocale.iso.toLowerCase()
  })

  if (doc) {
    return {
      post: doc.results || doc
    }
  } else {
    error({ statusCode: 404, message: 'Page not found' })
  }
},
This let us see in action another query provided by Prismic that is getByUID.
Briefly the detail of the data recovery in HTML:
pages/blog/_post.vue
<article class="post">
  <header class="post__header">
    <prismic-rich-text id="js-title-post" :field="post.data.title" />
  </header>

  <prismic-image v-if="post.data && post.data.image" :field="post.data.image" sizes="(max-width: 990px) 100vw (min-width: 991px) 57vw" />

  <div class="post__content">
    <prismic-rich-text :field="post.data.content" />
  </div>
</article>
Details: LINK TO THE COMMIT.
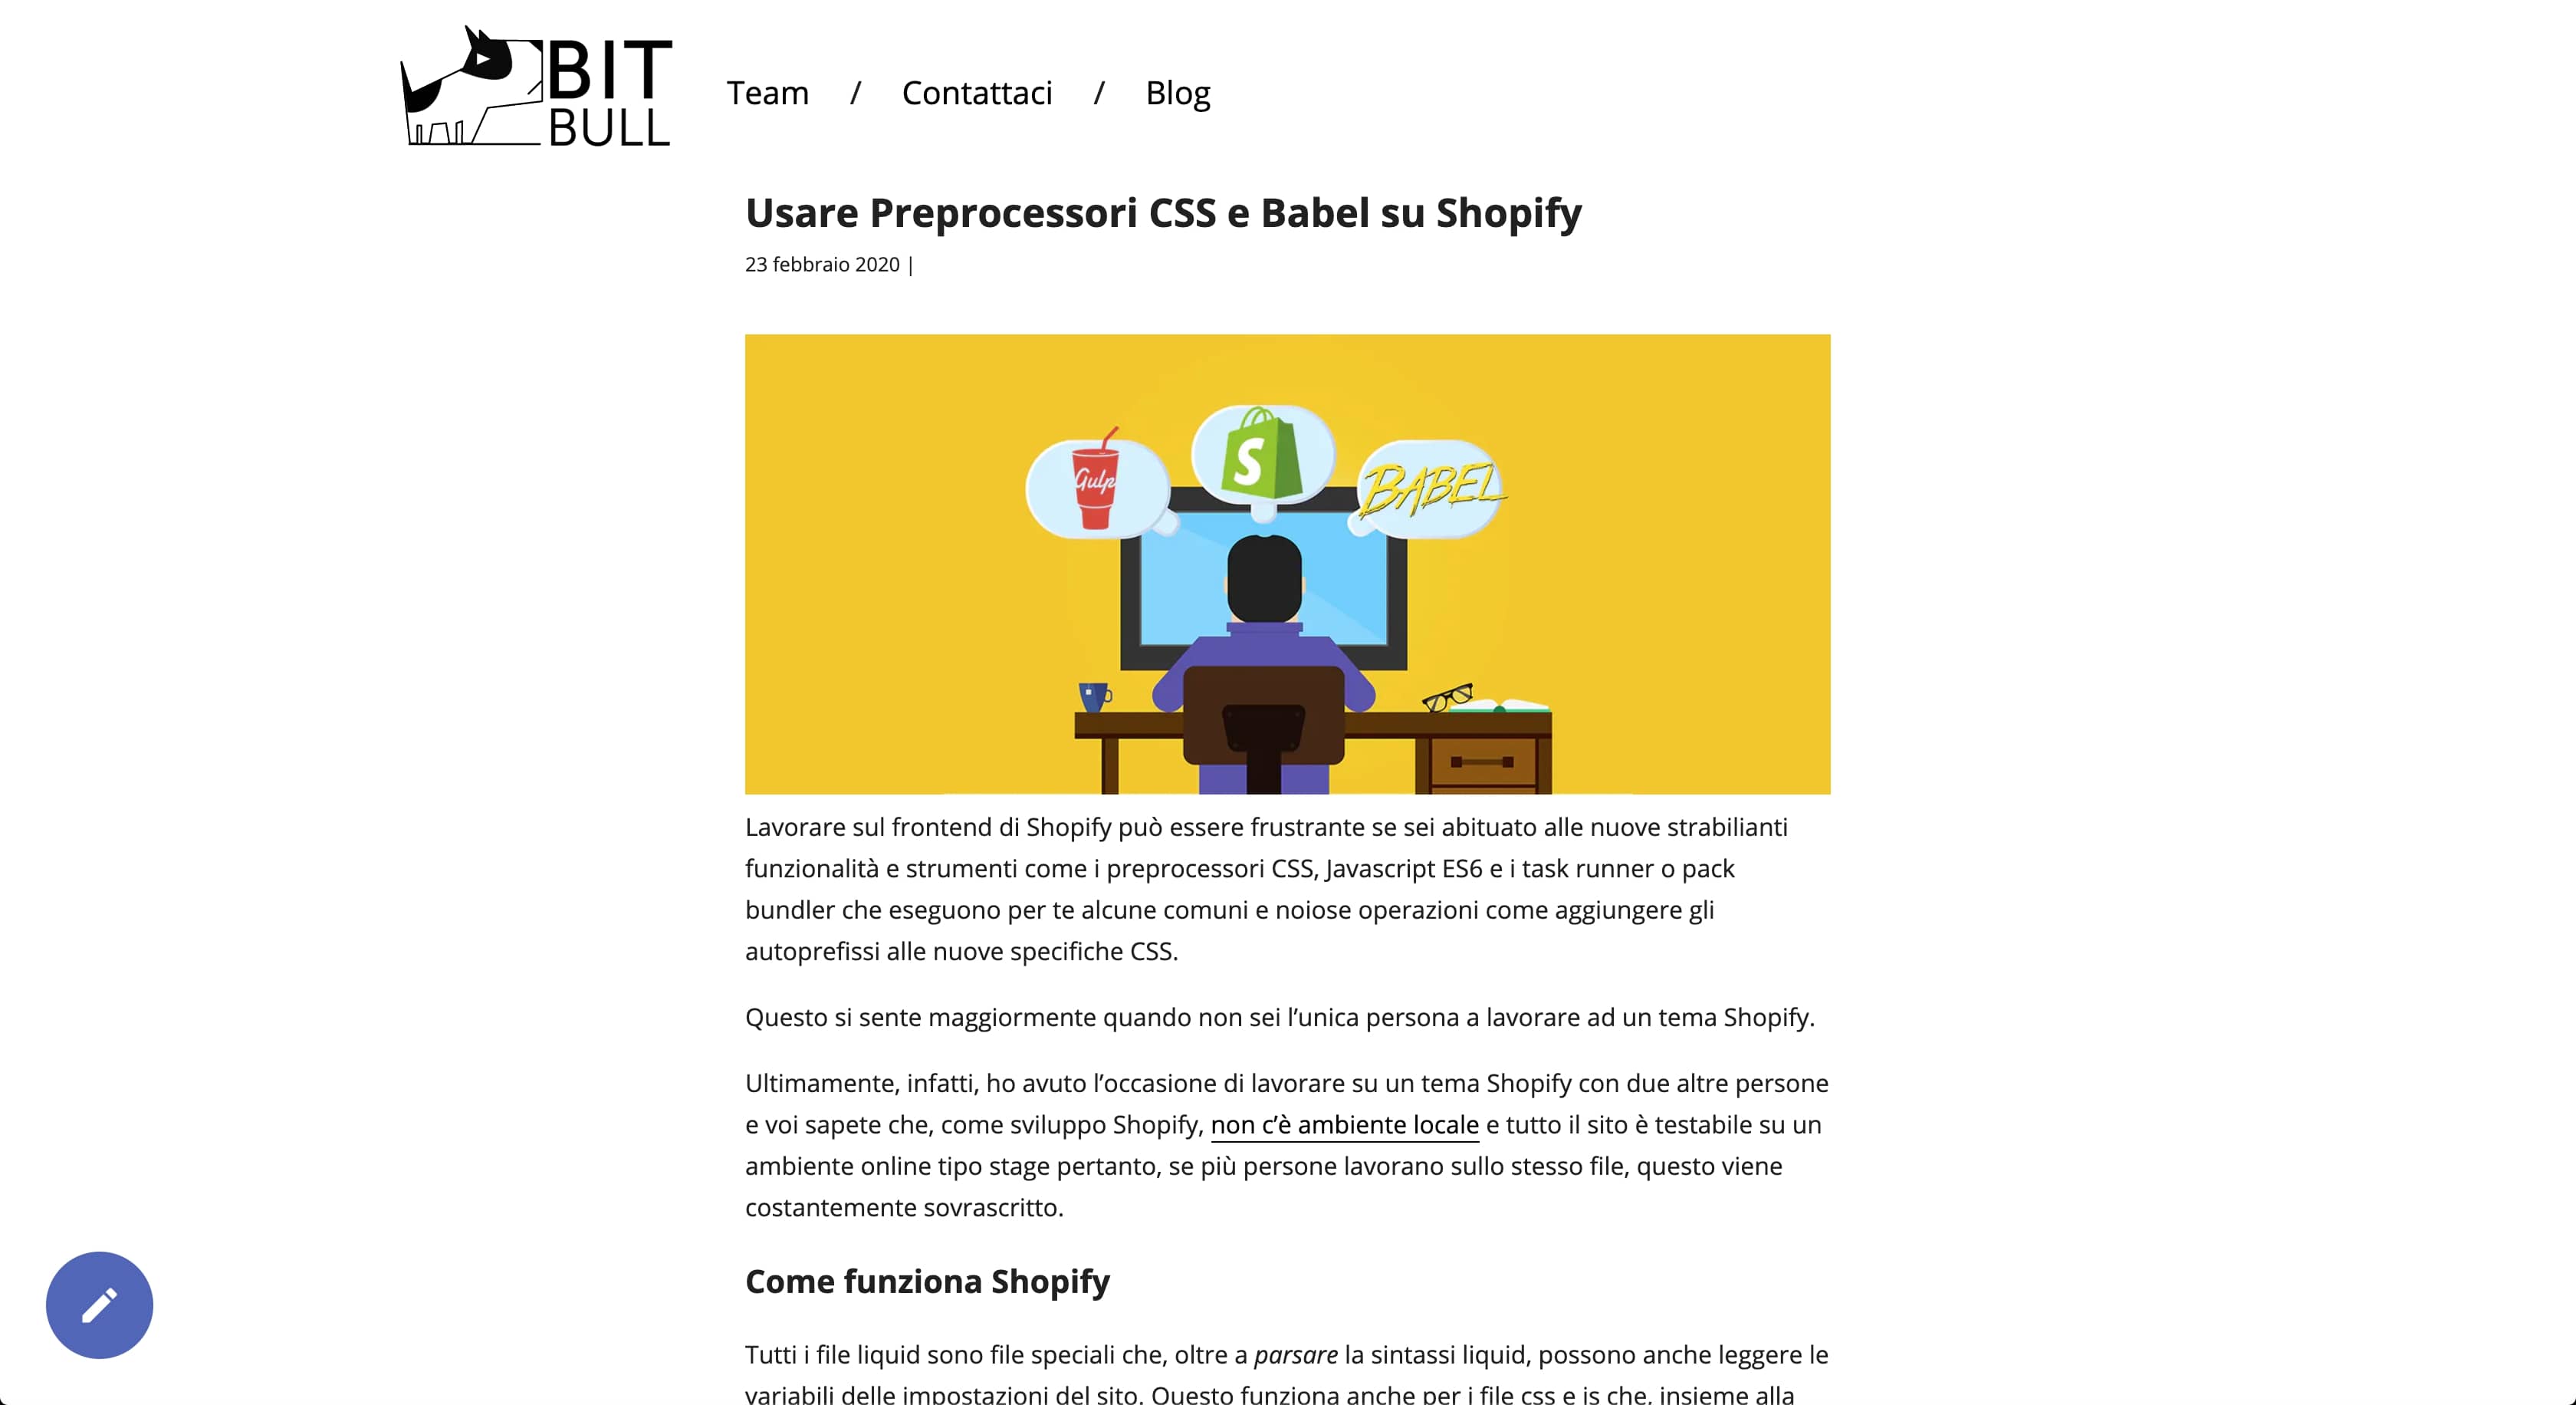
Et voilà!
The most careful of you surely have noticed that there some missing points:
- The language switcher in the post page does not match the correct UID of the corresponding translated post
- The author page with the details and list of posts is missing
They’re all easily solvable but I won’t face them in this post because it’s already extremely long.
Would you accept the challenge and try to solve them on your own? 🙃
Post of
Lorena Ramonda☝ Ti piace quello che facciamo? Unisciti a noi!

